A Fall Table Setting for Eight, Using Pieces You Own
Build a fall table setting for eight with a counted inventory, two removable centerpiece trays, a measured layout and two ways to reuse your own pieces.
See the fall table layout ↓- The guest list
- 8 people, including the hosts
- A little preparation
- Gather the pieces, try an empty layout, then check it from every seat
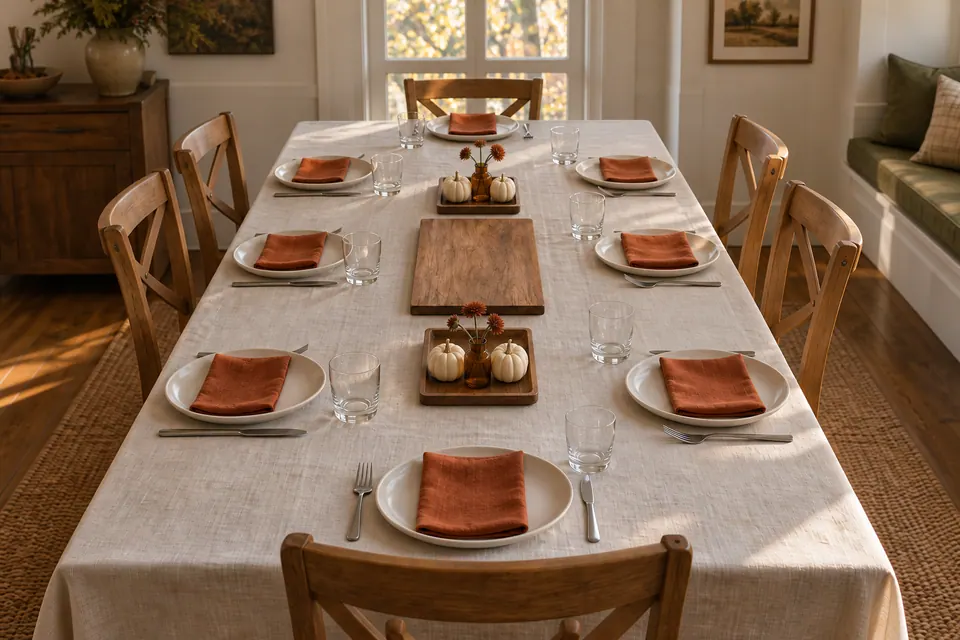
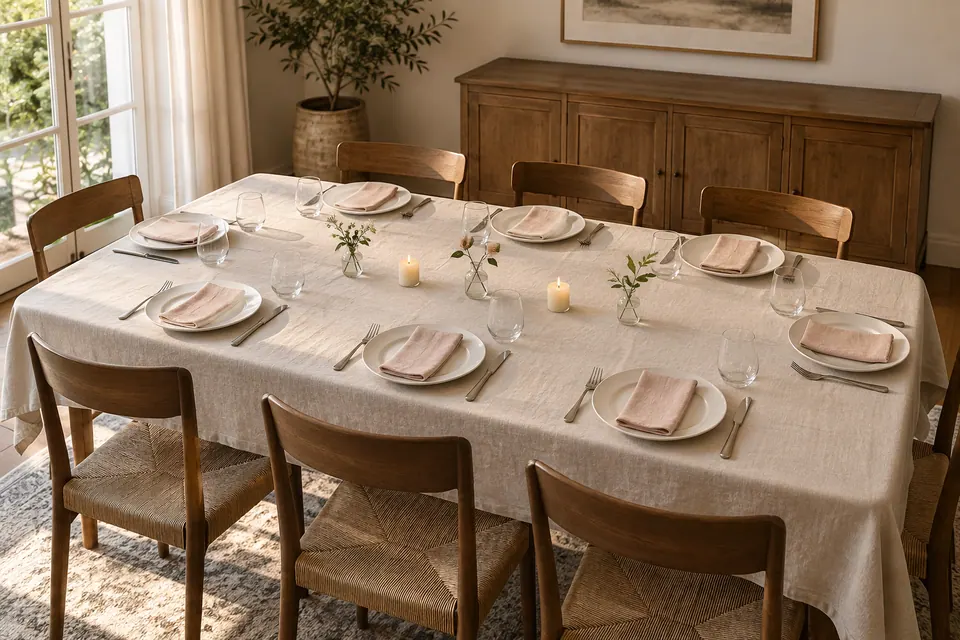
For a fall table setting, repeat one warm textile color and put the seasonal decorations on two small trays you can lift away before dinner. Ivory plates, rust napkins, a few miniature pumpkins and short stems give the table a clear autumn palette without filling every space between guests.
This proposed arrangement seats eight on a 96 × 42-inch table, about 244 × 107 cm. It uses two little centerpieces with a breadboard between them. The main, hot dishes and heavy serving vessels stay on a sideboard. Start with the pieces you own, then use the measured layout to check whether they fit.
Choose one repeated color
The main scheme has a warm ivory base, rust napkins, amber or clear bud vases and four small decorative pumpkins. Repeat the napkin color at all eight settings; let the natural variations in the stems and pumpkins supply the rest of the interest. Fold the napkins simply so the color is visible without adding napkin rings or a second decorative plate.
The rectangle fold instructions show that small detail step by step. If you change from this shared dinner to plated courses, use the formal service sequence for the utensil order; keep the removable decor plan here.
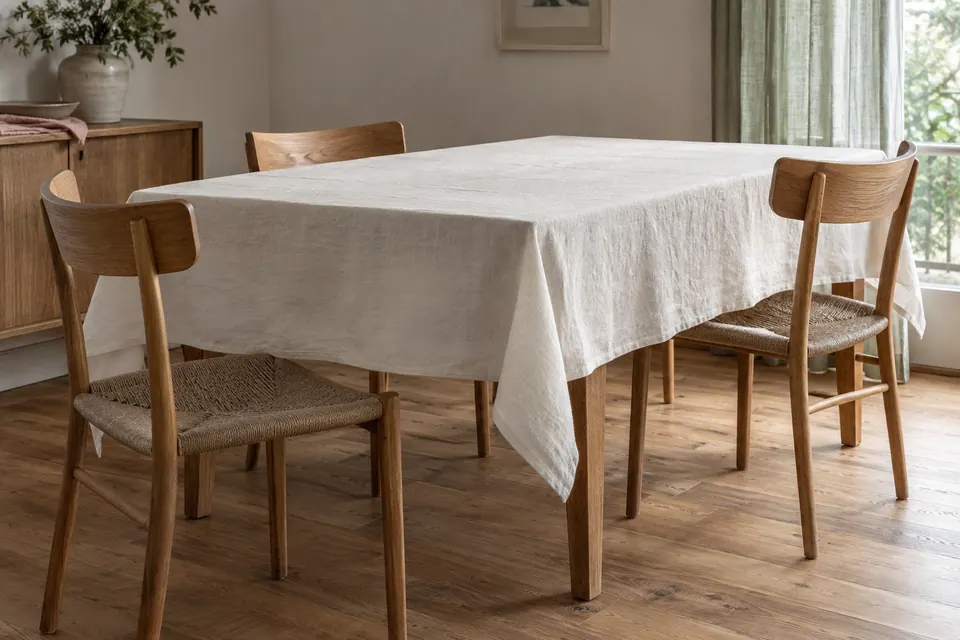
An existing finished 126 × 72-inch cloth gives this particular table a 15-inch drop, about 38 cm. Bare wood is another complete choice. There is no need to buy a cloth in that size: use the tablecloth guide and calculator to check the one you have. If the napkins you own are ochre instead of rust, make ochre the repeated color throughout.
Set aside garlands, loose leaves and extra scattered ornaments for this layout. Keeping the seasonal pieces together makes them easier to remove as one arrangement.
Gather the whole table before arranging flowers
The setting assumes one main course and a fork-eaten dessert. Eight pieces are in use; the extra two of each setting piece are spares. Dessert plates and forks wait off the table until that course.
| Piece | Gather | Use in this arrangement |
|---|---|---|
| Dinner plates | 10 | 8 on the table, 2 spares nearby |
| Dinner forks and knives | 10 of each | 8 of each on the table, 2 spares of each |
| Napkins and water glasses | 10 of each | 8 of each on the table, 2 spares of each |
| Dessert plates and dessert forks | 10 of each | Keep all off the table; bring 8 of each with dessert |
| Existing tablecloth | 1, or none on bare wood | The illustrated cloth is 126 × 72 in, about 320 × 183 cm |
| Liftable decor trays | 2 | Each has a 10 × 8-in outside footprint, about 25 × 20 cm |
| Stable small vases | 2 | 1 per tray; each base no wider than 2½ in, about 6.4 cm |
| Mini decorative pumpkins | 4 | 2 per tray; each no wider than 3 in, about 7.6 cm |
| Short stems | 6 | 3 per vase, with the same loose arrangement repeated twice |
| Food-safe bread or dry-service board | 1 | 18 × 10 in including handles, about 46 × 25 cm; centered between the trays |
All footprints include handles and rims. Check the trays’ usable interiors as well as their outer dimensions. A thick rim can leave too little room for the vase and two pumpkins. If those pieces do not fit securely, use smaller decorations from your collection; do not balance them on a rim. Check that the vase is stable and does not leak before it goes over fabric or wood.
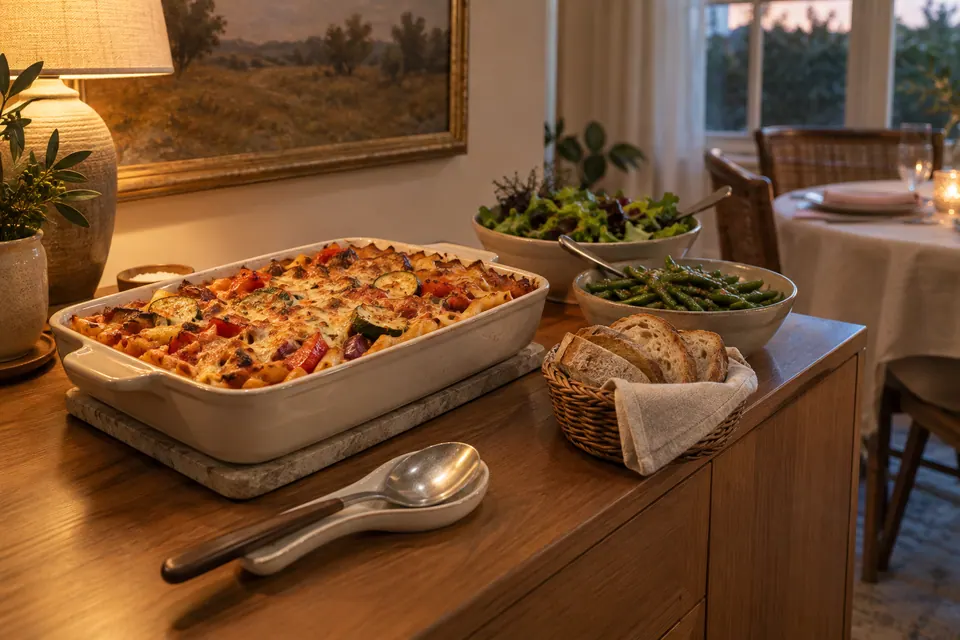
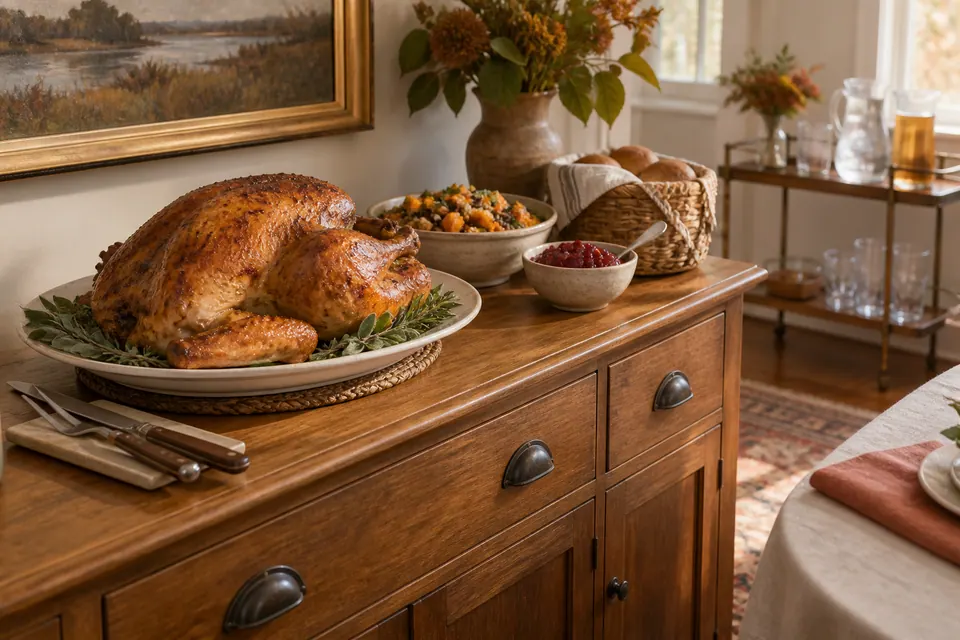
Keep the main dish’s serving pieces and utensils on the sideboard. The dinner menu for eight has a separate kitchen and service plan; the table inventory above is not a complete cooking-equipment list.
Give the centerpieces a measured footprint
This rectangle has three diners along each long side and one at each short end. An illustrative 15-inch setting allowance around its edges leaves a 66 × 12-inch center strip, about 168 × 30 cm. Test your chairs and actual settings with the table layout for eight before treating that strip as usable space. Large glasses, plate sizes and table legs can change the result.
In the drawing, measurements start at the left short edge of the tabletop. All three center pieces sit on the table’s width centerline, 21 inches from either long edge.
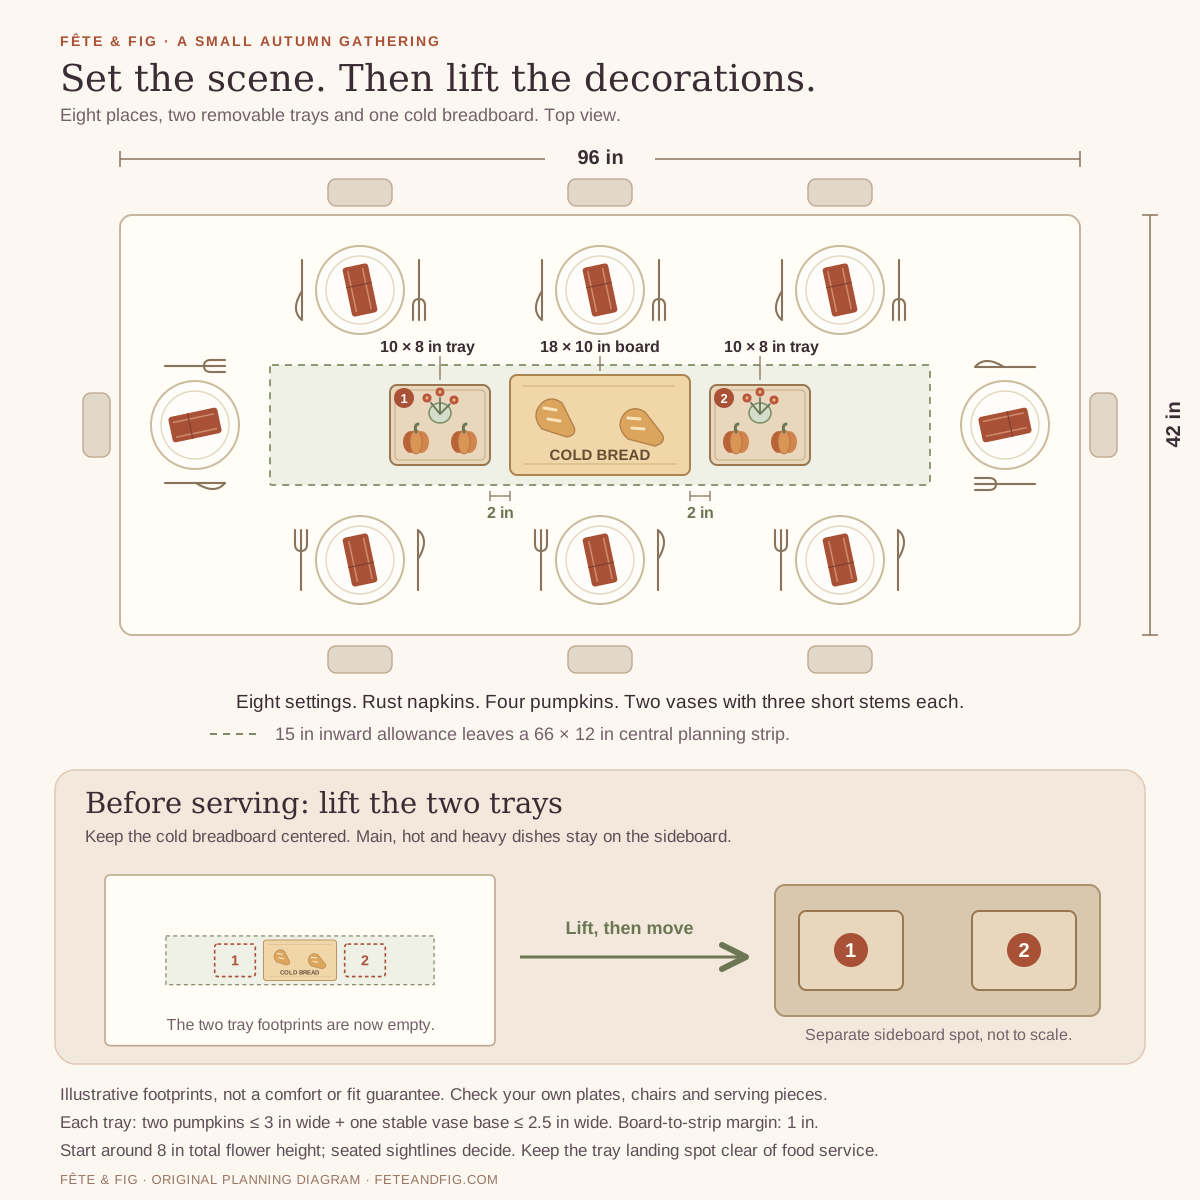
| Part | Footprint or position | What it means when setting the table |
|---|---|---|
| Tabletop and seating | 96 × 42 in; 3 + 3 + 1 + 1 seats | About 244 × 107 cm, with all eight chairs checked in place |
| Center planning strip | 66 × 12 in after a 15-in allowance at each edge | About 168 × 30 cm; this is a drawing allowance, not a universal clearance rule |
| Left decor tray | 10 × 8 in; center 32 in from the left short edge | About 25 × 20 cm; center about 81 cm from that edge |
| Bread or dry-service board | 18 × 10 in; center 48 in from the left short edge | About 46 × 25 cm; center about 122 cm from that edge |
| Right decor tray | 10 × 8 in; center 64 in from the left short edge | About 25 × 20 cm; center about 163 cm from that edge |
| Width centerline | All three centers are 21 in from either long edge | About 53 cm from the edge |
| Gaps beside the board | 2 in between the board and each tray | About 5 cm; recheck if handles or decorations project beyond their footprints |
| Board margin inside the strip | 1 in along each long side of the board | About 2.5 cm; the 10-in-wide board sits within a 12-in-wide strip |
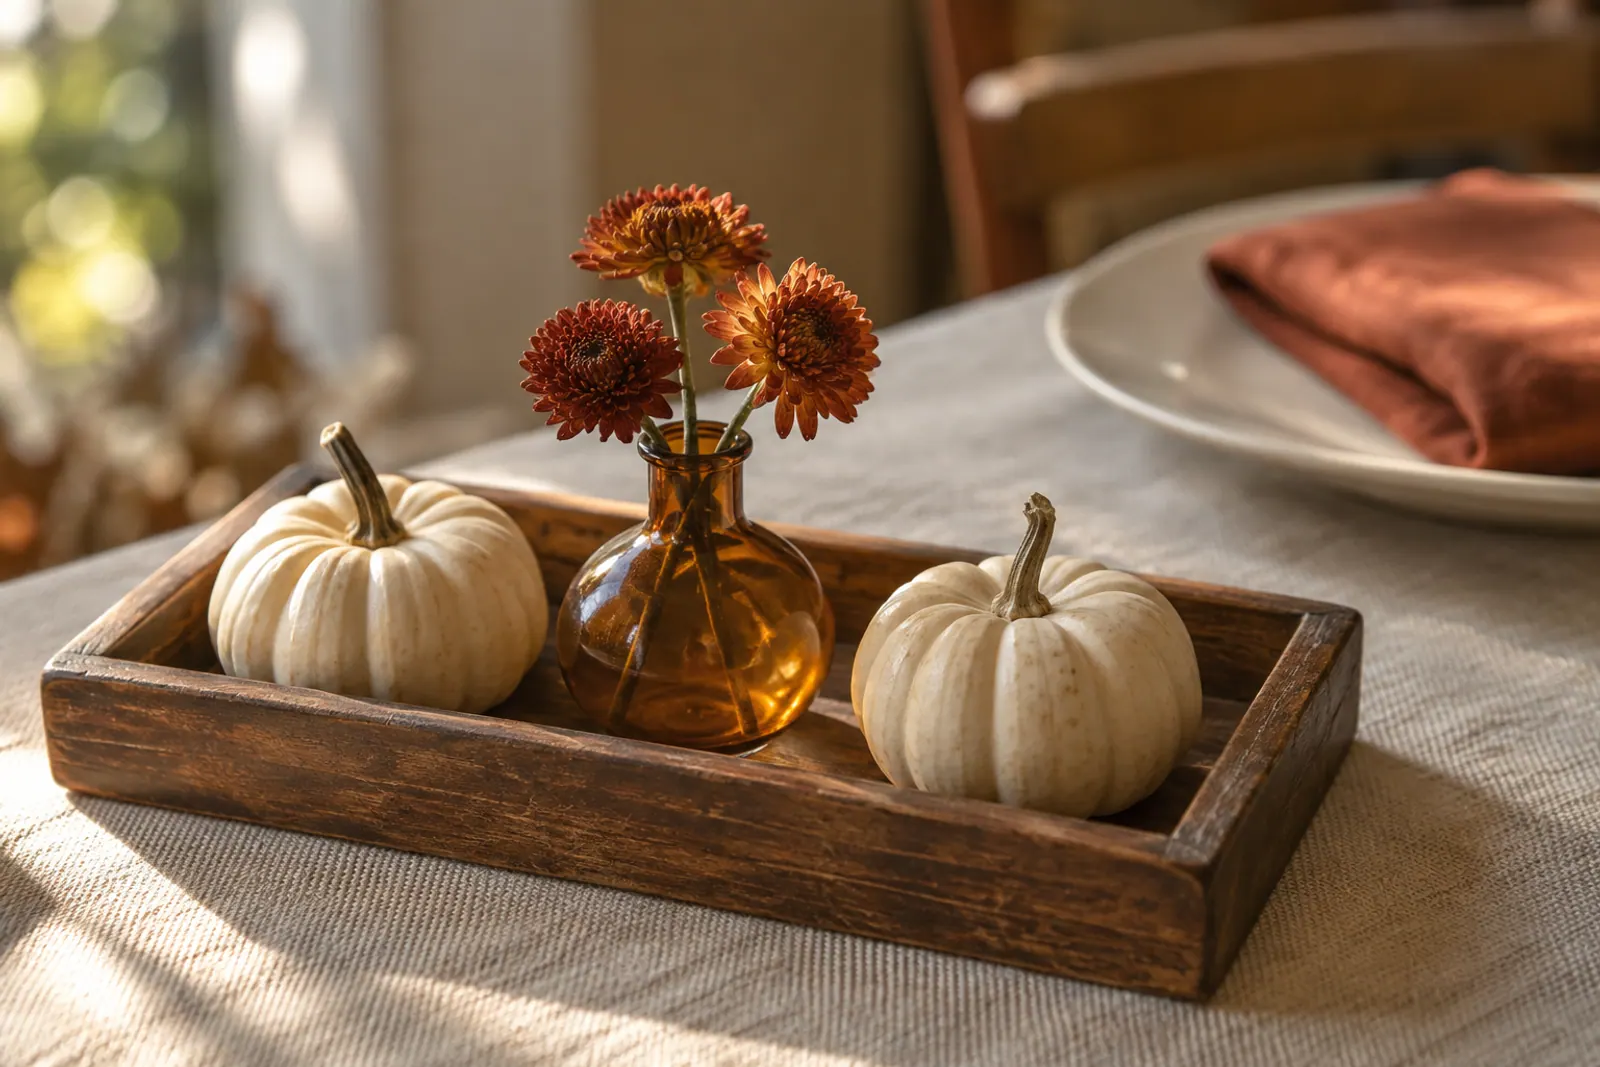
The 1- and 2-inch gaps are the result of these dimensions, not a promise of hand clearance or comfortable service. Try the empty board and trays first. Then build each centerpiece with one vase, three stems and two pumpkins. Keep the stems within the tray’s plan-view footprint rather than letting them reach over a neighbor’s glass.
The illustration uses a complete centerpiece height of 8 inches or less, about 20 cm. That is a starting target for this design, not a rule for every table or guest. Sit down on both sides and at each end. If a flower blocks a face or the arrangement intrudes into someone’s view, shorten or remove the stem. This scheme does not need candles or decorative lights.
Plan where the two trays will go
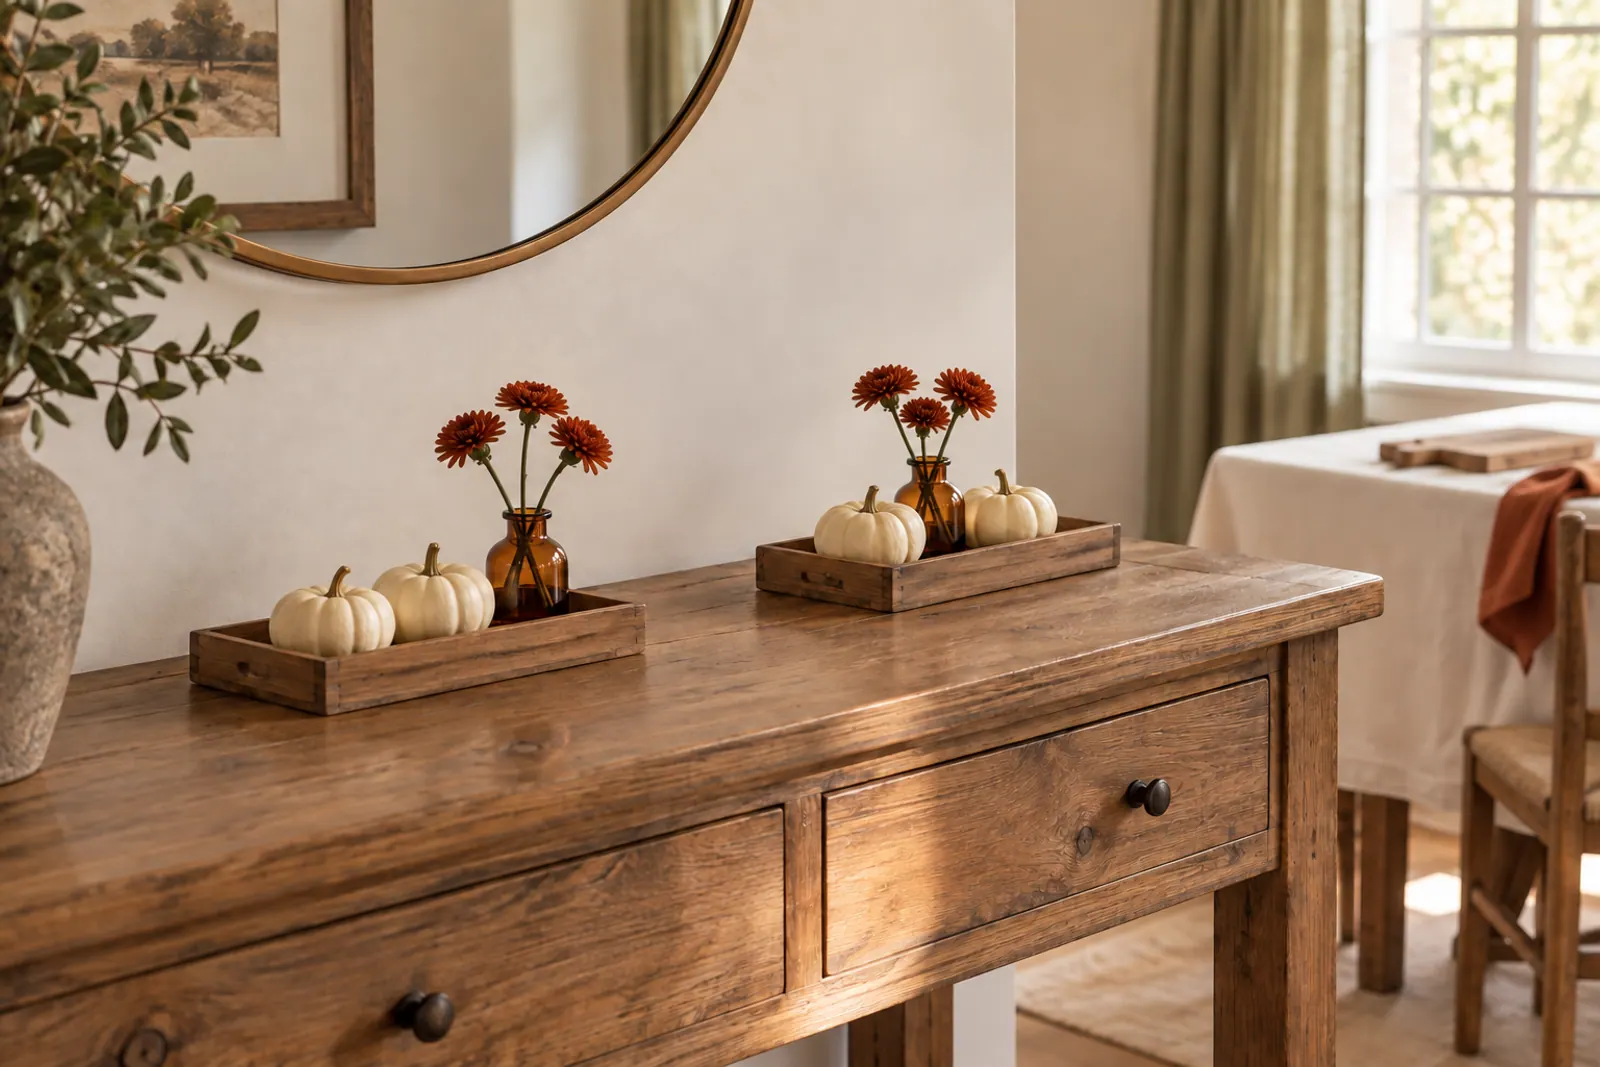
Before guests arrive, reserve a stable, dry landing area for both trays away from the sideboard’s food service. Try moving each loaded tray there. If a vase wobbles, remove it first and carry the remaining pieces separately.
Lift both decor trays away before serving dinner. They have already done their job of welcoming people to the table. The centered board can remain for bread or other small, cold or dry items, provided guests can pass it comfortably. The extra space left by the trays is not a reason to introduce heavy or hot vessels: keep those at the sideboard.
| Moment | On the dining table | Off the dining table |
|---|---|---|
| Guests arrive | 8 simple settings, 2 decor trays and the empty or ready-to-use cold-service board | Spare settings, dessert pieces, main dishes and their serving utensils |
| Dinner begins | 8 settings and the small board, if useful | Both decor trays in their reserved landing area; main, hot and heavy dishes in the separate food-service area |
| Dessert | Clear dinner plates and the board, then bring 8 dessert plates and forks | Leave the centerpieces off the table if the open space is more comfortable |
For a meal with several contributors, the Friendsgiving potluck planner coordinates dishes, owners and kitchen space. Its worked menu serves twelve; keep this table’s eight-person count separate. An editable menu card can sit beside the food instead of taking space at every setting.
Two ways to reuse different pieces
Choose the route your cupboards can supply. Both keep the same structure: two trays, two small vessels, four small objects and six short stems. The objects and vessels still need to fit the footprint and seated-view checks above. A substitute is useful only if it fits; there is no need to buy four new ornaments to complete a reuse plan.
Bare wood, clear glass and pantry pears
Use the bare tabletop, clear small vases you already own and ochre napkins. Replace the four pumpkins with four intact small pears, each no wider than 3 inches. This changes the texture of the arrangement from seasonal ornaments to wood, glass and fruit. The two trays still carry one vase and two objects each.
Choose this route only if suitable pears are already available. Keep fruit on clean food-contact surfaces and separate from vase water; do not paint, pin or glue it. If you plan to eat the pears afterward, FDA’s produce-cleaning guidance advises rubbing produce gently under plain running water and drying it with a clean cloth or paper towel. Soap and produce wash are unnecessary. Do not assume decorative treatment can be washed away to make fruit edible.
Ivory ceramics and patterned linen
Use the existing ivory cloth, two small white ceramic vases and eight napkins from a patterned set you already have. Replace the four pumpkins with four small, stable ceramic ornaments with flat bases, each within the same 3-inch width limit. Let the napkin pattern carry the warm color; the center stays quiet and pale.
This route uses year-round display pieces without needing a seasonal pumpkin collection. After dinner, return the four ornaments to their usual shelf and place the two vases together elsewhere. The trays can return to their ordinary storage or carrying use. Keep the six stems while they remain in good condition; otherwise clean and put away the vessels. There is no need to store a complete themed centerpiece as a single unit.
Make one final seated check
Look across the table from all eight places, then reach for a glass and pass the empty board. Check that no stems lean into a setting and that each chair can move. Confirm the tray landing area is still free, count the eight napkins, and leave the remaining spares nearby.
If passing the board feels awkward, serve bread from the sideboard too. Leave the trays off the dining table for the rest of the meal and bring the dessert pieces when they are needed.
Repeat one warm napkin color, put the seasonal decorations on two small trays, and reserve a place to lift them away before dinner. The table should still work when the flowers leave.
Checklist from this story
0 / 8 ready