Napkin Folding Ideas: Four Clear Folds for Cloth Napkins
Choose a cloth napkin fold that suits your fabric, then follow original diagrams for a rectangle, cutlery pocket, flat fan or loose roll with a ring.
Get the napkin folding sheets ↓- A little preparation
- Try one fold with your actual napkin before preparing the rest
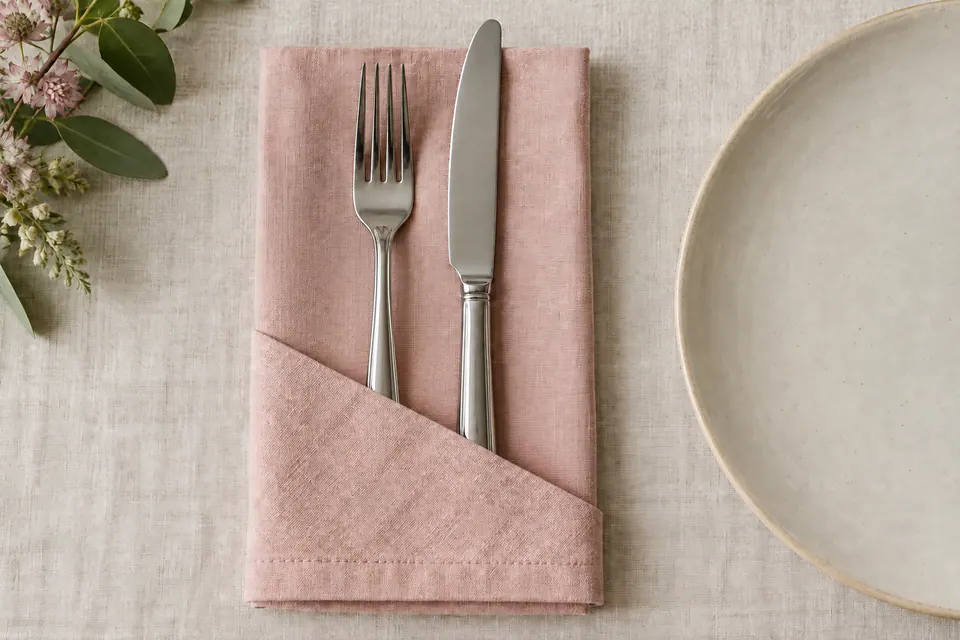
The most useful napkin folding ideas are the ones you can repeat with the napkins in your cupboard. A soft, washed cloth can make a lovely loose roll. A flatter, more structured square is easier to turn into a pocket or an even fan. There is little benefit in making sixteen elaborate shapes if guests struggle to open them.
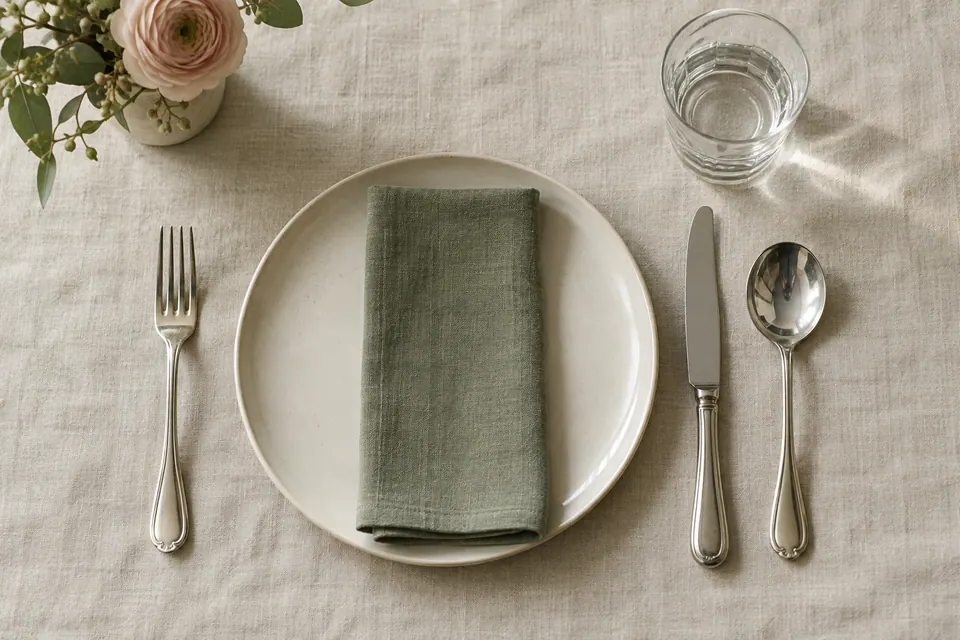
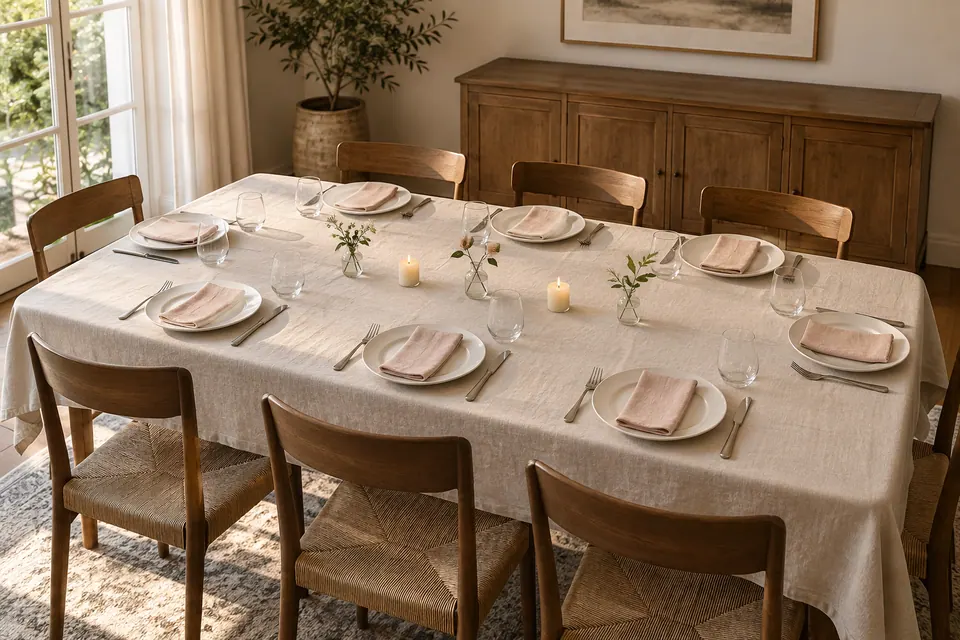
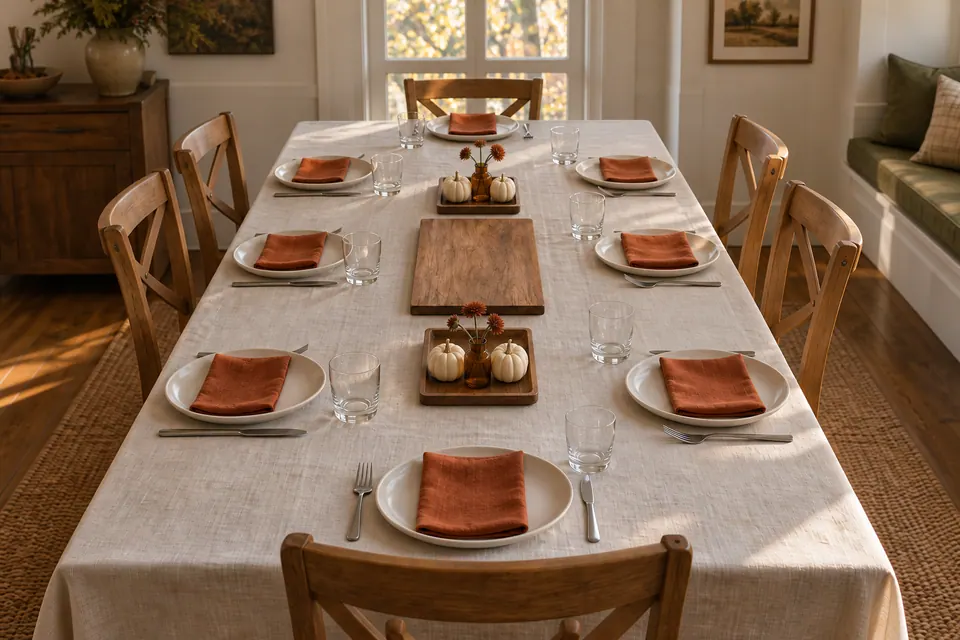
This guide has four folds, with a diagram for every numbered step. The drawings use a proposed 20 × 20-inch square, about 51 × 51 cm. They explain the geometry, not the behavior of every fabric. Make one sample with your actual napkin before folding a whole set. The accompanying AI-created photographs show styling ideas; use the diagrams and written steps for the movements.
Choose a fold for the cloth you have
| Fold | Choose it when | What holds it | Check first |
|---|---|---|---|
| Rectangle | You want a flat, easily opened napkin | Three straight folds | Does the finished 10 × 5-in example fit where you intend to put it? |
| Diagonal pocket | You want a narrow slot for a small flatware bundle | A diagonal top layer and overlapping thirds | Can the handles enter without stretching the flap? |
| Flat fan | You want pleats to be the main detail | A smooth ring around the folded base | Is the ring wide enough for the pleated bundle? |
| Loose roll | The cloth is soft or you already have rings | A ring that slides on without force | Can the guest slide the ring off easily? |
The pocket is a flatware holder, not a complete place-setting plan. Use the formal table-setting guide to decide which utensils the meal actually needs. For a table with no pocket to fill, the rectangle is a complete choice.
Prepare one square and learn the diagram key
Work with clean hands on a clean, dry surface. Follow the napkin’s care label for laundering and pressing; do not apply a universal iron temperature to mixed fabrics or decorative finishes. A slightly uneven hem is manageable. A visibly skewed square will make exact thirds and pleats harder to align.
In the drawings, rose means the good side and pale ivory means the reverse. A dashed line marks the crease. A curved arrow shows the moving fabric. A turn-over instruction means flipping the entire bundle left to right, like turning a book page, while keeping its top edge at the top. A rotation changes which edge faces you without turning the cloth over.
There is no requirement to buy a larger square. With an 18-inch napkin, the rectangle finishes about 9 × 4½ inches and the pocket about 9 × 3 inches before accounting for hems and thickness. These are calculated proportions. Try the actual pieces rather than treating the numbers as guaranteed clearances.
Make a simple rectangle
Starting position: square edges horizontal and vertical; good side down. The bottom edge is nearest you. No ring is needed.
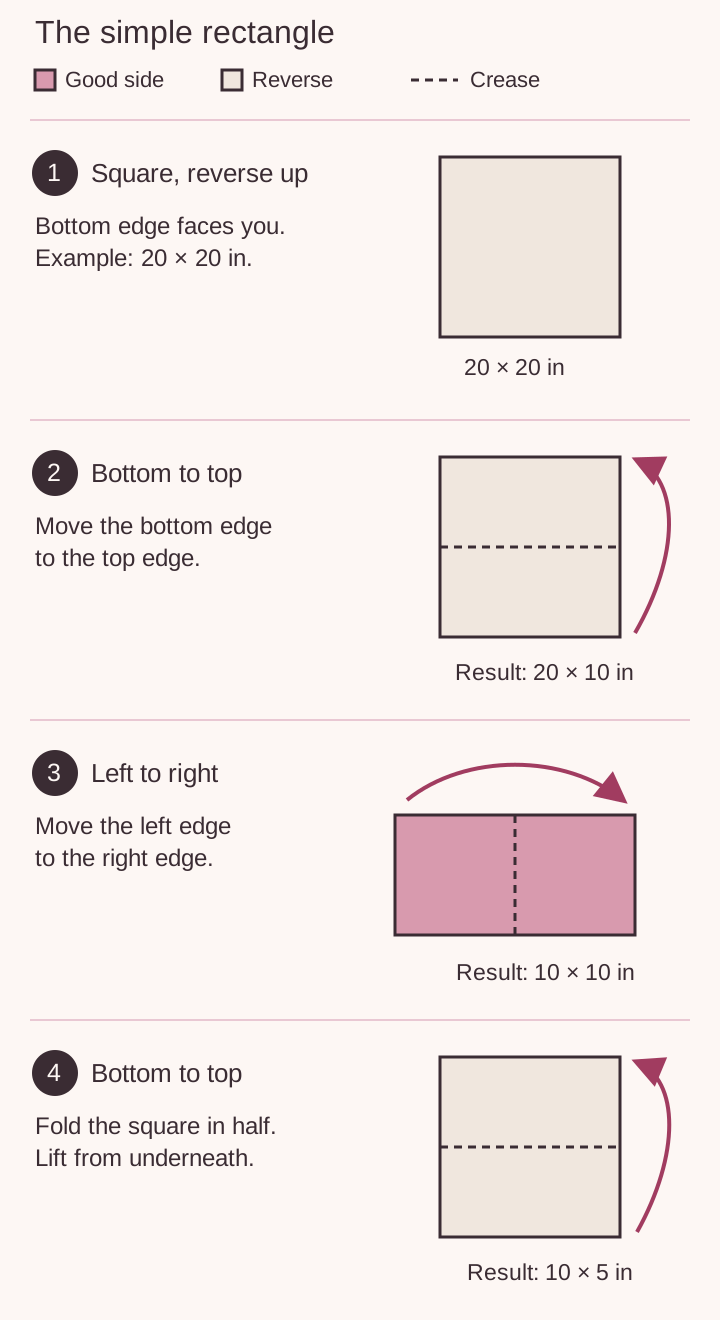
- Lay out the square. Smooth it with the reverse facing up and all four edges aligned to your work surface.
- Bring the bottom edge to the top edge. Crease halfway up the square. You now have a horizontal 20 × 10-inch rectangle, with its closed edge nearest you.
- Bring the left edge to the right edge. Crease down the center. The result is a 10 × 10-inch square.
- Bring the bottom edge to the top edge once more. The final shape is 10 inches wide and 5 inches high. Lift it from underneath so the layers stay together.
For a monogram or contrasting hem, make this sample and check what appears on top. Change the initial face or orientation if necessary, then keep that choice consistent for the remaining napkins.
Make a diagonal cutlery pocket
Starting position: square edges horizontal and vertical; good side down. Fold only the specified top layer at step 3.
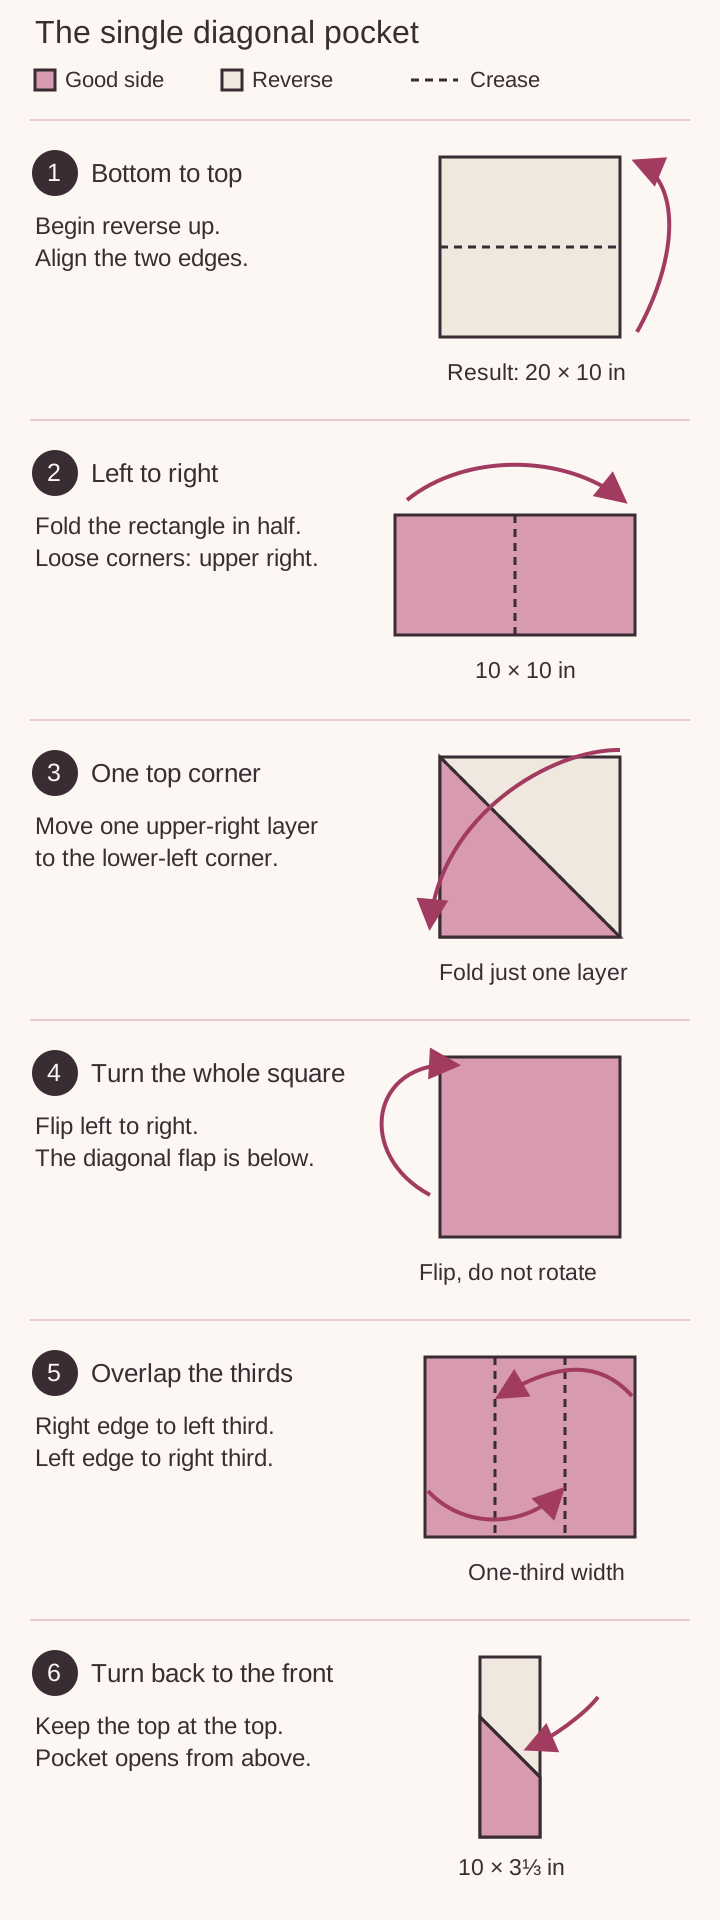
- Fold bottom to top. Align those two edges to make a 20 × 10-inch horizontal rectangle.
- Fold left to right. You have a 10-inch square: its left and bottom edges are closed folds; four loose corners meet at the upper right.
- Move one corner. Take only the topmost loose upper-right corner down to the lower-left corner. Its diagonal crease runs from upper left to lower right.
- Turn the entire square over, left to right. Keep the top at the top. The loose triangular flap is underneath. Do not rotate the square.
- Fold the back into thirds. Imagine vertical lines one-third and two-thirds of the way from the square’s left edge. Bring the right edge left to the one-third line. Bring the left edge right to the two-thirds line. The two outer thirds overlap the middle third.
- Turn the whole bundle over again, left to right. The diagonal flap is now in front. Slide handles underneath its diagonal edge from above; leave the working ends visible.
The 20-inch example finishes about 10 × 3⅓ inches. Keep it flat: the overlapping back is not a sealed pouch. Add the flatware after moving the folded napkin to its final position, and remove a piece if the flap strains. This is the single-layer pocket sequence described by LA Linen; the measured proportions and diagrams here are our own.
Fold a flat fan for a sideboard
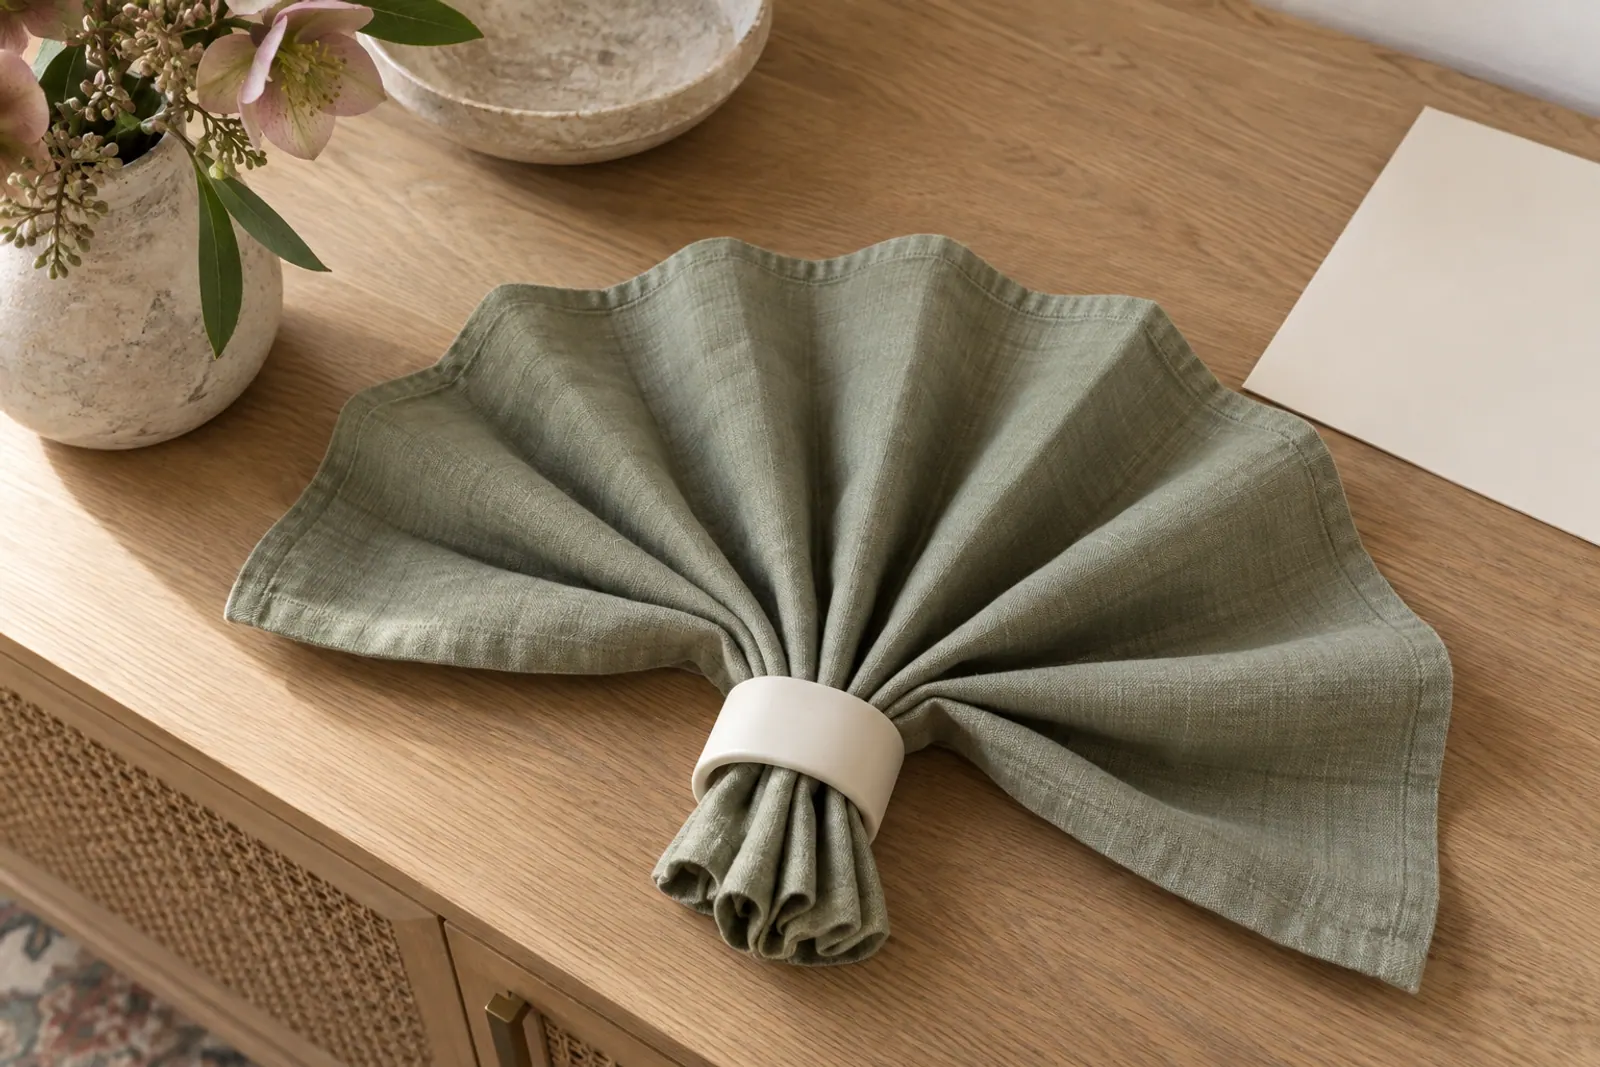
Starting position: square edges horizontal and vertical; good side down. You need a smooth ring that fits the doubled pleated bundle. This version rests flat; it is not a self-supporting standing fan.
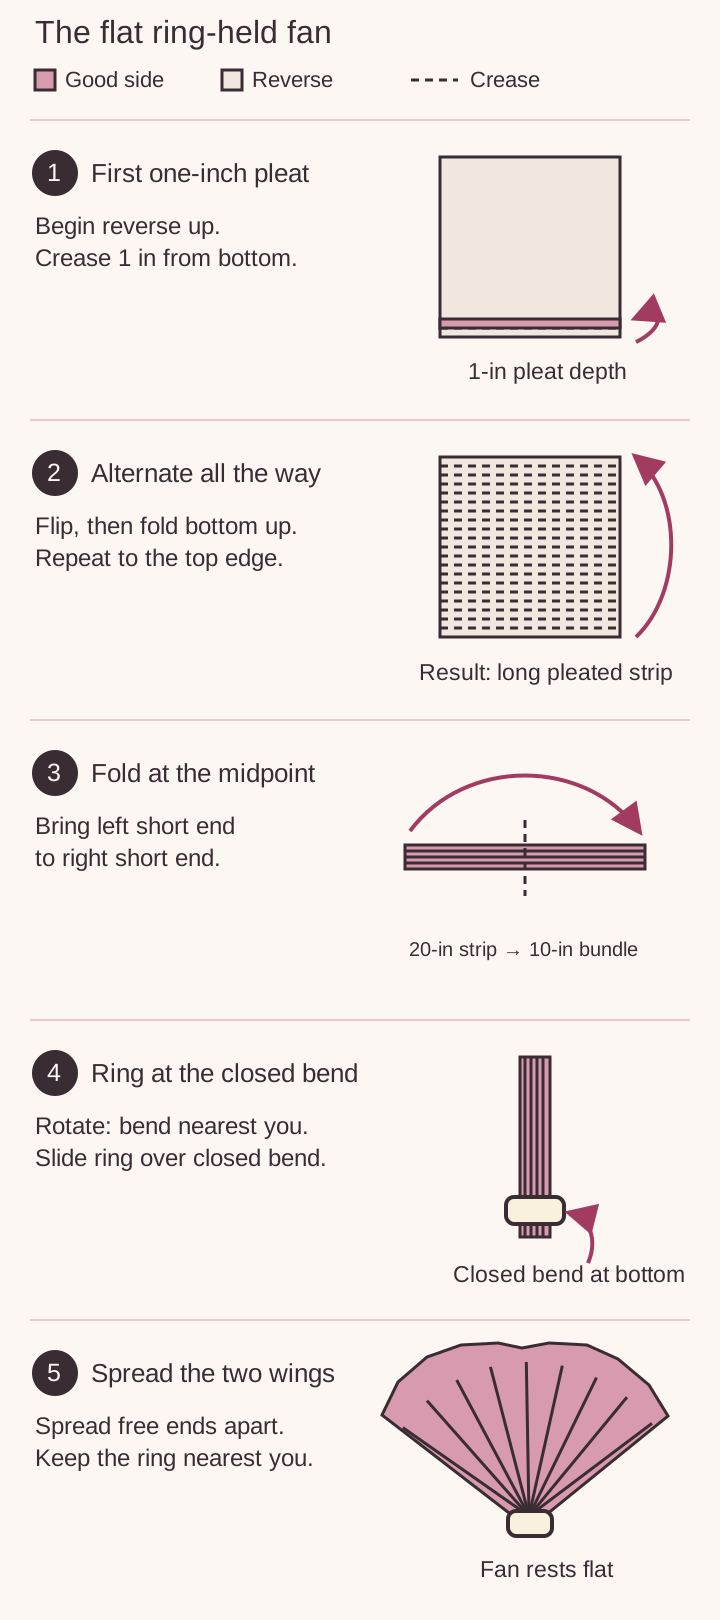
- Start the first pleat. Make a crease 1 inch above the bottom edge, roughly 2.5 cm. Fold that bottom strip upward along the crease; its loose edge reaches 2 inches above the original bottom edge. One inch is the proposed pleat depth for this example.
- Alternate the pleats. Turn the whole napkin over left to right; keep the same folded edge nearest you. Fold a 1-inch-deep strip upward again. Repeat the turn-over and upward fold until the square becomes one long pleated strip, about 20 inches long and 1 inch deep. Adjust the last pleat to use the remaining cloth.
- Fold the strip across its length. Keep the pleats pinched together. Bring the left short end to the right short end, creasing at the strip’s midpoint. The doubled bundle is about 10 inches long. One end is a closed bend; the other has two free, pleated ends.
- Turn the bundle and add the ring. Rotate it on the work surface until the closed bend is nearest you and the two free ends point away. Slide the ring over the bend and a short way toward the free ends. Stop when it holds the base. Do not force a narrow ring over thick cloth.
- Open the two free ends. Keep the ring nearest you. Spread one wing left and the other right, opening their pleats while the ring keeps the base together. Let the fan lie flat.
The accordion, midpoint fold and ring follow the method published by Bumblebee Linens. If your cloth springs out of its pleats, use the loose roll below. Avoid compensating with pins, wire or an increasingly tight ring.
Roll a napkin with a loose ring
Starting position: square edges horizontal and vertical; good side down. Choose a smooth ring without sharp inner edges.
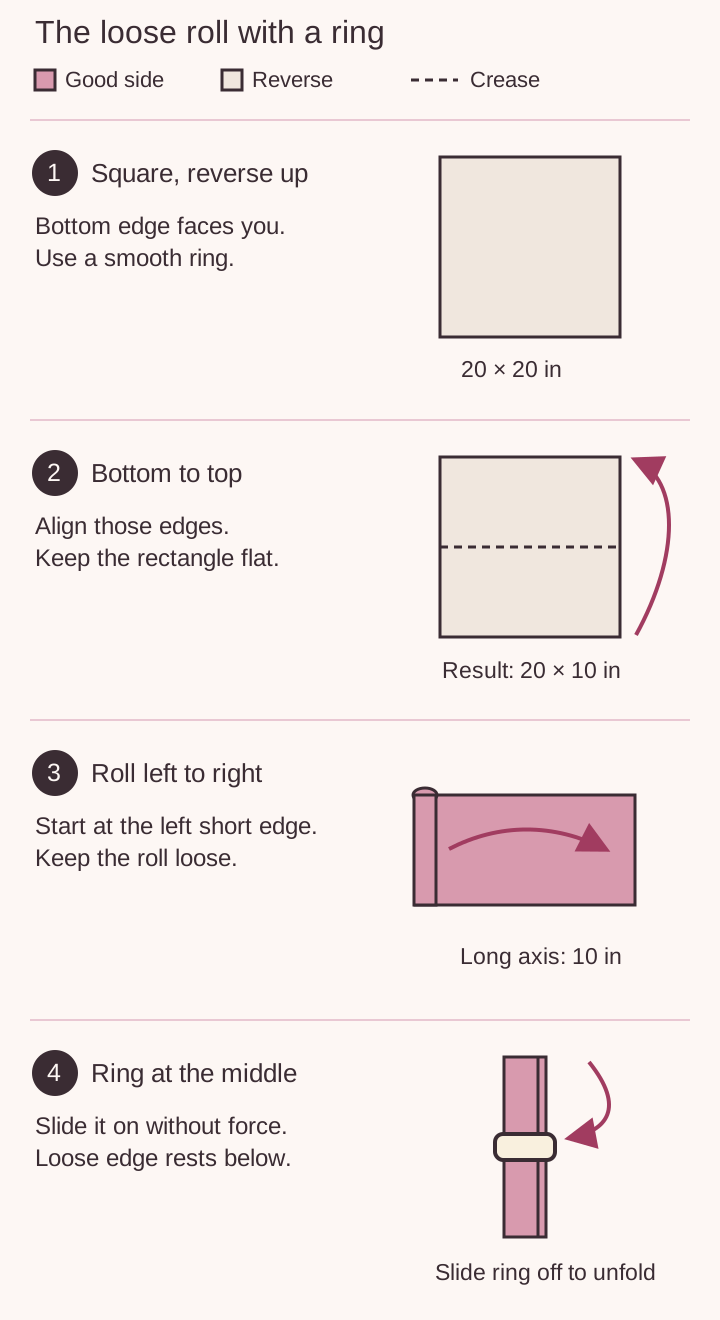
- Lay out the square. Keep the good side down and the bottom edge nearest you.
- Fold bottom to top. The result is a horizontal 20 × 10-inch rectangle.
- Roll left to right. Start at the left short edge and loosely roll across the rectangle’s width. The roll’s long axis runs top to bottom; it is about 10 inches long. Keep the edges reasonably even without compressing the cloth into a hard tube.
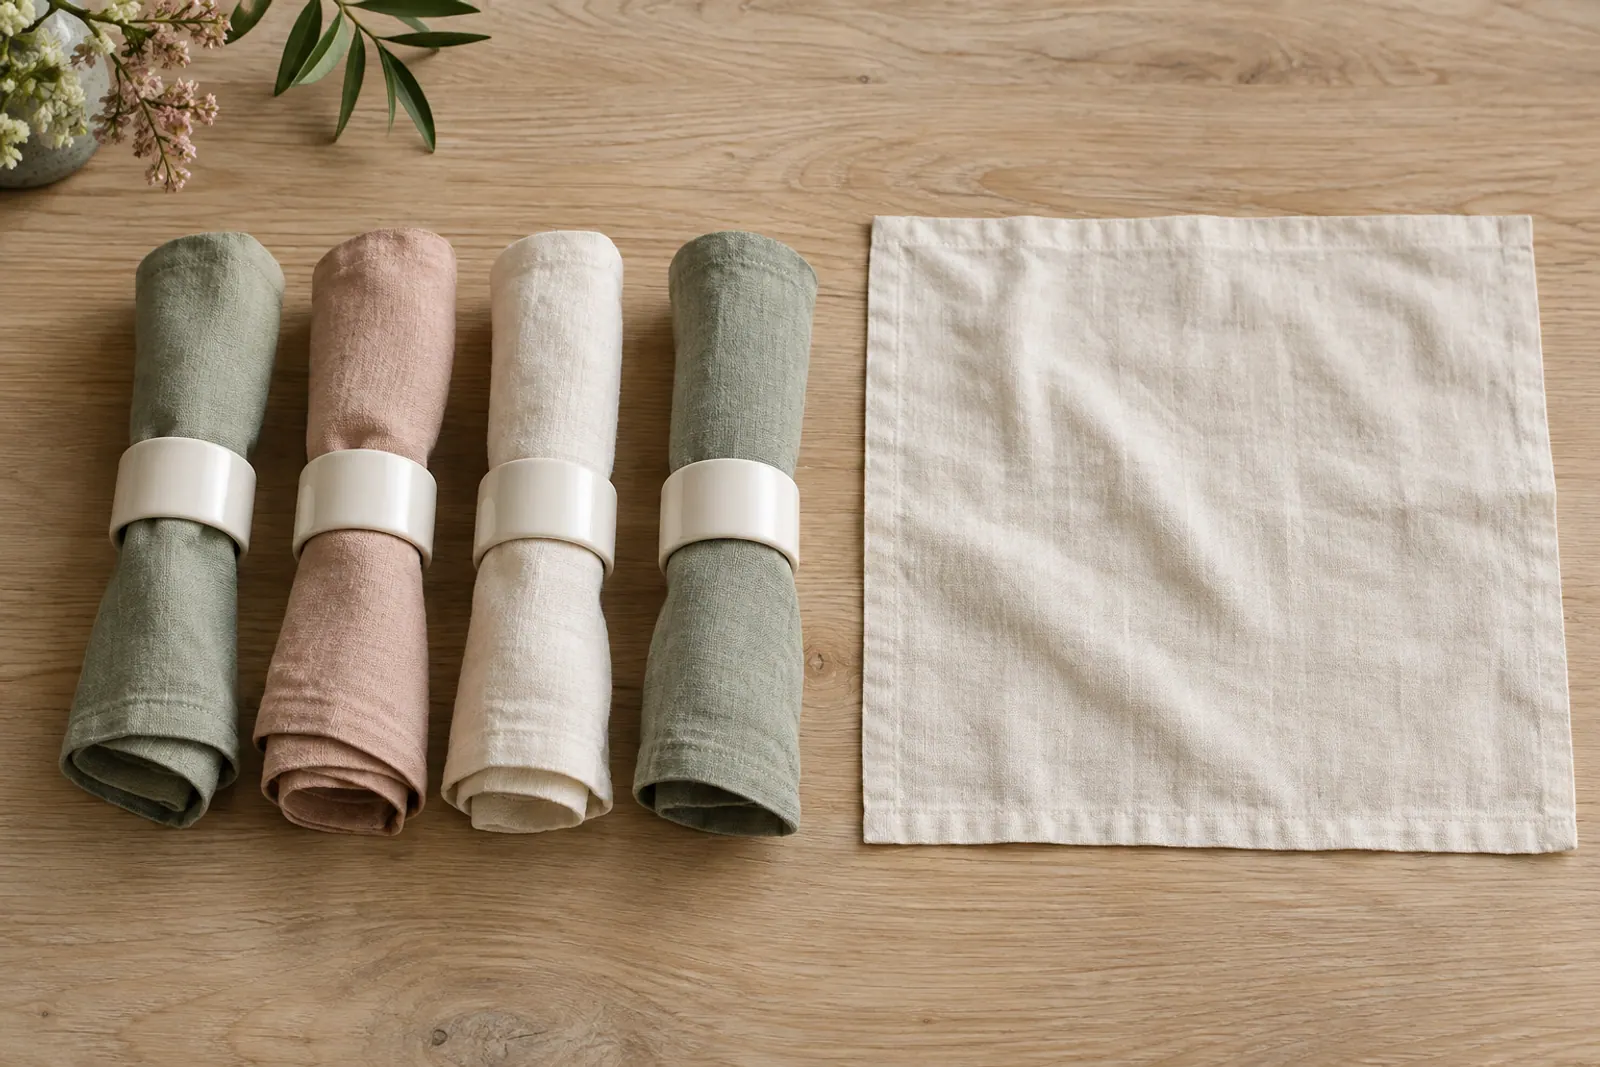
- Add the ring. Hold the loose outer edge against the roll. Slide the ring over either end to the middle. Lay the roll flat with that loose edge underneath. The guest should be able to remove the ring without tugging.
A thick hem can create one fuller end. Loosen the roll and redistribute the cloth rather than twisting both ends to hide it. Keep rings in a separate container when laundering.
Fix the problem before repeating it
| What happens | Check | Change |
|---|---|---|
| Pocket has no opening | Were all four loose corners folded diagonally? | Unfold to the quarter-square; fold only the topmost corner |
| Pocket diagonal is on the back | Was the last turn-over missed? | Flip the whole finished rectangle once, keeping top at top |
| Fan cannot fit through the ring | Is the cloth thick or the ring narrow? | Use another ring or choose the rectangle; do not force it |
| Fan looks uneven | Did the pleat depth drift? | Reopen it and use one consistent depth; smooth each crease |
| Roll uncoils | Is the ring too loose for this bundle? | Try a fuller, looser roll or a better-fitting ring |
| Edges never meet | Is the actual cloth rectangular or skewed? | Choose the roll; reserve exact square-based folds for squarer napkins |
Prepare the batch with one reference sample
Keep one completed napkin beside you so the next fold has a clear reference. Work in a small batch that fits on your clean surface. Lay finished pieces loosely in a clean, dry container; heavy stacking can flatten a fan or shift an unsecured pocket. Keep them away from food preparation and damp cloths.
To estimate your own folding time, time two complete samples, including any ring or final flatware step. Divide that time by two, then multiply by the number still needed. Add the separate time you need for laundering, pressing and carrying the pieces. A universal “thirty seconds per napkin” promise would miss those jobs and the differences between fabrics.
Open the reference sample as a guest would before copying it. If it requires a knot to be untied, a hidden fastener to be found or the fabric to be pulled through a tight ring, simplify the fold. A finished napkin should still be easy to use.
Download the four folding sheets
Keep the steps beside your clean folding surface: download the A4 PDF or download the US Letter PDF. Each fold has its own numbered drawings and written instructions. Choose the file that matches your paper and print in portrait orientation at actual size. The drawings explain the movements; they are not life-size templates.
The sheets are free for personal, noncommercial use, with no account or email sign-up. The complete steps also remain above as readable text. Use one actual napkin to check the pocket, pleats or ring before preparing the rest.
Use a rectangle for the least handling, a diagonal pocket when you want a slot, a flat fan for visible pleats or a loose roll for a ring. Fold one actual napkin first and check that it opens easily.
Checklist from this story
0 / 7 ready