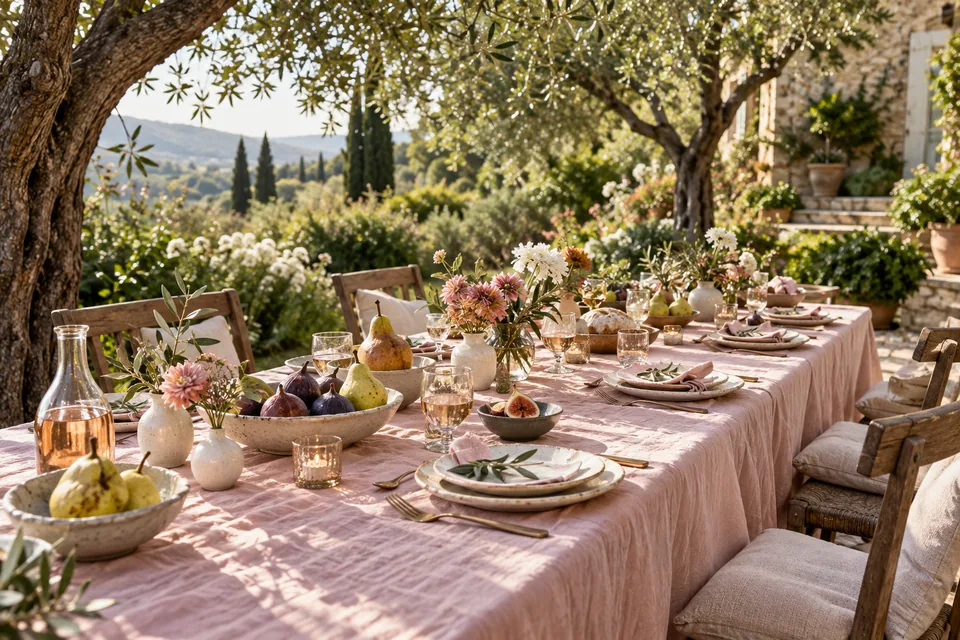
The gathering at a glance
Place the furniture and serving pieces first, then build a simple setting around conversation, comfortable movement and easy access to food.
An inviting dinner table gives everyone room to eat, hear one another and reach a glass without moving a flower arrangement. Start with those needs, then add the details that make the evening feel considered. Eight settings can look cohesive even when the plates, chairs and glasses come from different sets.
This setup uses one table, a modest centerpiece and a separate drinks spot. Allow about an hour after gathering the supplies; add time if you need to borrow furniture or wash linens.
Gather the pieces before you begin
For eight guests, collect eight dinner plates, forks, knives, water glasses and napkins. Add spoons, small plates or extra glasses only when the menu calls for them. Keep two spare glasses and a few extra napkins nearby. A second course does not automatically require another full layer of crockery.
You will also need a cloth or runner, serving dishes and their utensils, water jugs, a small tray for condiments, and something protective beneath warm dishes. Choose one low decorative element: a shallow bowl of fruit, three short bud vases or a few gathered branches. Keep decorative foliage away from food and place settings.
Step 1: Set the furniture and walking routes
Put all eight chairs in place before laying the table. Sit in the tightest position and check whether you can move your elbows and stand comfortably. Around 24 inches of table edge per person is a useful starting point, but larger chairs and individual access needs may require more space.
Leave a clear route between the dining table, kitchen and bathroom. If eight seats feel cramped, extend the table or use two nearby tables. A smaller centerpiece cannot solve an uncomfortable seating arrangement. Position anyone who prefers easy access near an open end without making their place feel separate.
Step 2: Try the serving arrangement
Place the empty serving dishes on the table now. This small rehearsal reveals how much space the meal will need. For family-style service, divide a side dish between two smaller bowls so people do not have to pass a heavy vessel the full length of the table.
If the dishes fill the center, serve the main course from a sideboard. Leave space for guests’ water glasses and a landing spot for a dish being passed. Put a serving utensil with every platter rather than planning to find one during dinner.
Step 3: Lay the base and plates
Spread the cloth so its drop is reasonably even. It should not pool around feet or catch beneath chair legs. A runner is a useful alternative when you want to show the table surface or have limited laundry time.
Place each plate opposite the center of its chair, leaving a small margin from the table edge. When mixing two sets, repeat an intentional pattern around the table. Matching napkins or the same water glass can connect otherwise different settings.
Step 4: Add only the cutlery and glasses needed
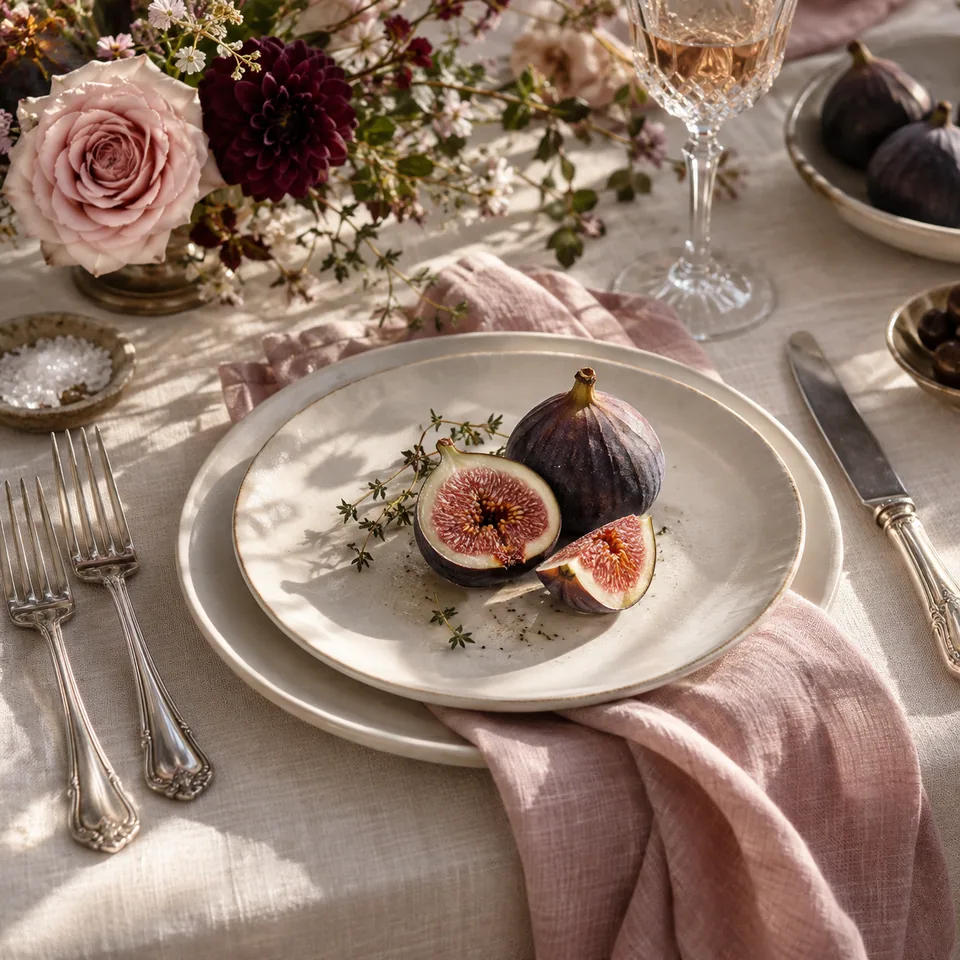
For a simple main course, place a fork on the left and a knife on the right, with the blade facing the plate. Add a spoon if you are serving soup or a dish that needs one. Dessert cutlery can arrive with dessert.
Put the water glass above the knife, within comfortable reach. Offer another glass only if a guest wants a different drink. Fold each napkin into a loose rectangle beside or on the plate; elaborate folding adds work without helping the meal.
Step 5: Keep the center low and the lighting soft
Add your decorative element in the space left by the serving plan. Check it from a seated position. Faces should remain visible across the table, and guests should not need to lean around branches to talk.
Battery-powered LED candles offer a soft glow without an open flame. Check their batteries and switch them on before guests arrive. A nearby lamp can provide additional light so everyone can see their food and read any menu cards. Avoid scented decorations around the meal.
Step 6: Finish with a practical last check
Fill the water station, place a cloth nearby for spills and clear unnecessary items from the sideboard. Walk around the table once, looking for missing utensils, unstable glasses and decorations that crowd a setting.
Use the printable hosting resources to keep your setup list beside the supplies. For the wider evening, follow the dinner party at home guide. Once the table works comfortably, stop adjusting it and give yourself a little time before the doorbell rings.
Your take-it-with-you checklist
0 / 6 ready