Drink Station Ideas: Two Measured Layouts and Refill Plans
Set up a home drink station with two measured jug and dispenser layouts, cup and spill zones, refill access, a separate return tray and printable plans.
Compare the two measured layouts ↓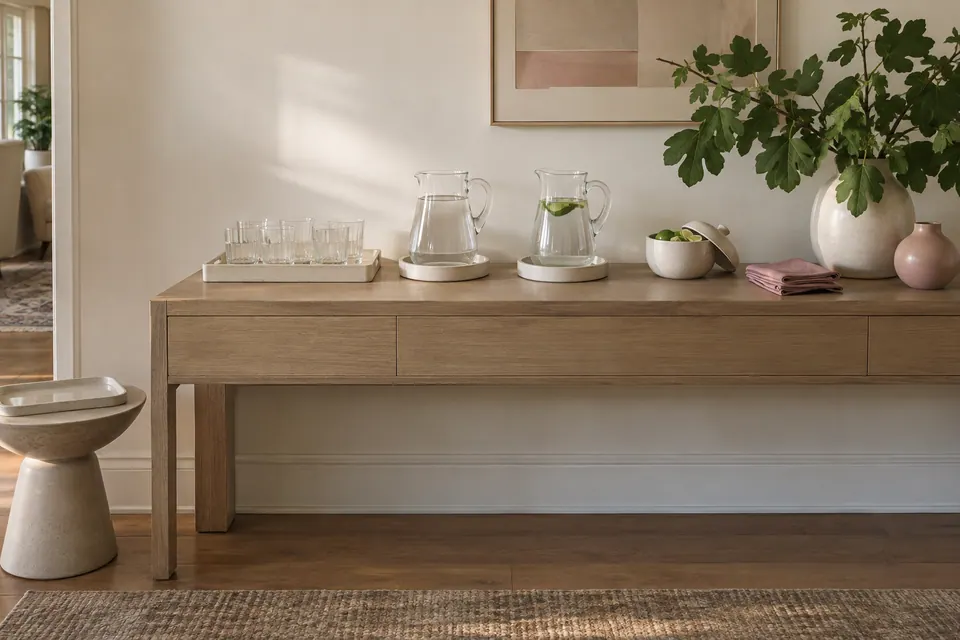
Good drink station ideas solve four small problems: where a guest picks up a cup, where they pour, where the host refills, and where the used cup returns. A beautiful dispenser can still be awkward if its spigot hangs over the edge or the only spare bottles are behind a person filling a glass.
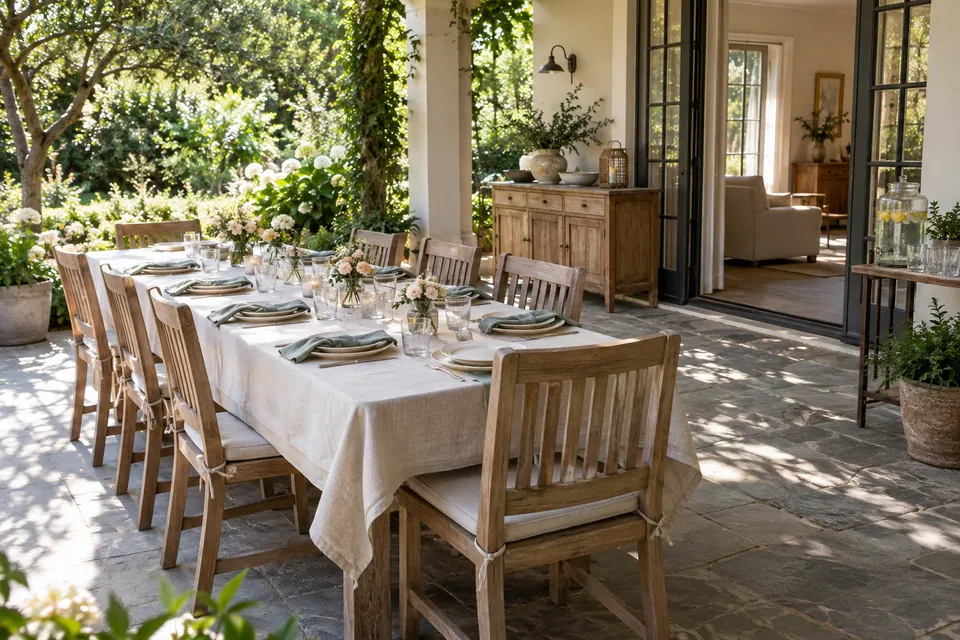
These two original layouts separate those jobs. One uses two liftable jugs on a long console. The other gives one dispenser a protected pouring tray and a refill side. The footprints are proposed examples, not minimum accessibility clearances or physically tested capacity. Measure your actual pieces, try the route with the people who will use it and adjust for their needs. The AI-created photographs provide styling context; use the diagrams for coordinates.
Choose a jug or dispenser layout
| Your equipment or situation | Start with | Main fit check |
|---|---|---|
| Two small jugs that can be lifted comfortably | The 72 × 20-in console | Jug handles, tray interiors and a safe landing after pouring |
| One dispenser with a stable compatible stand | The 60 × 30-in table | Spigot projection, cup height and the full support footprint |
| Refill bottles need a separate working space | Either, with a host approach from the refill side | Does the host avoid reaching across the guest’s pour? |
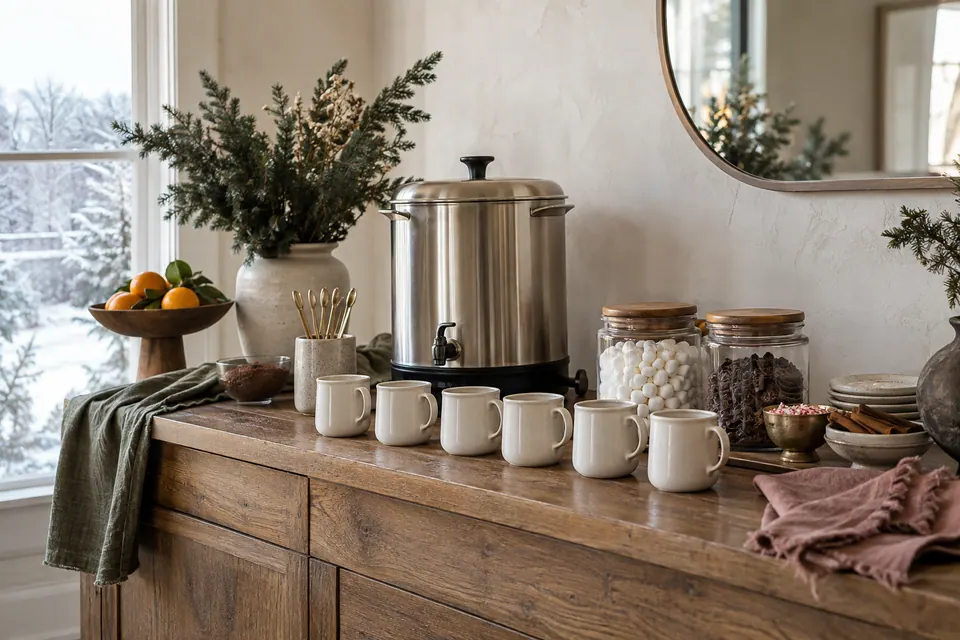
| A hot drink appliance is the main service | A plan specific to that appliance | Follow its manufacturer instructions and use the hot chocolate guide |
The layouts below are for cold drinks. They do not establish the support, electrical or burn-safety arrangements for a hot appliance. Food service belongs on a separate surface so the drink queue does not stop a guest collecting a plate.
Measure each piece with its working parts
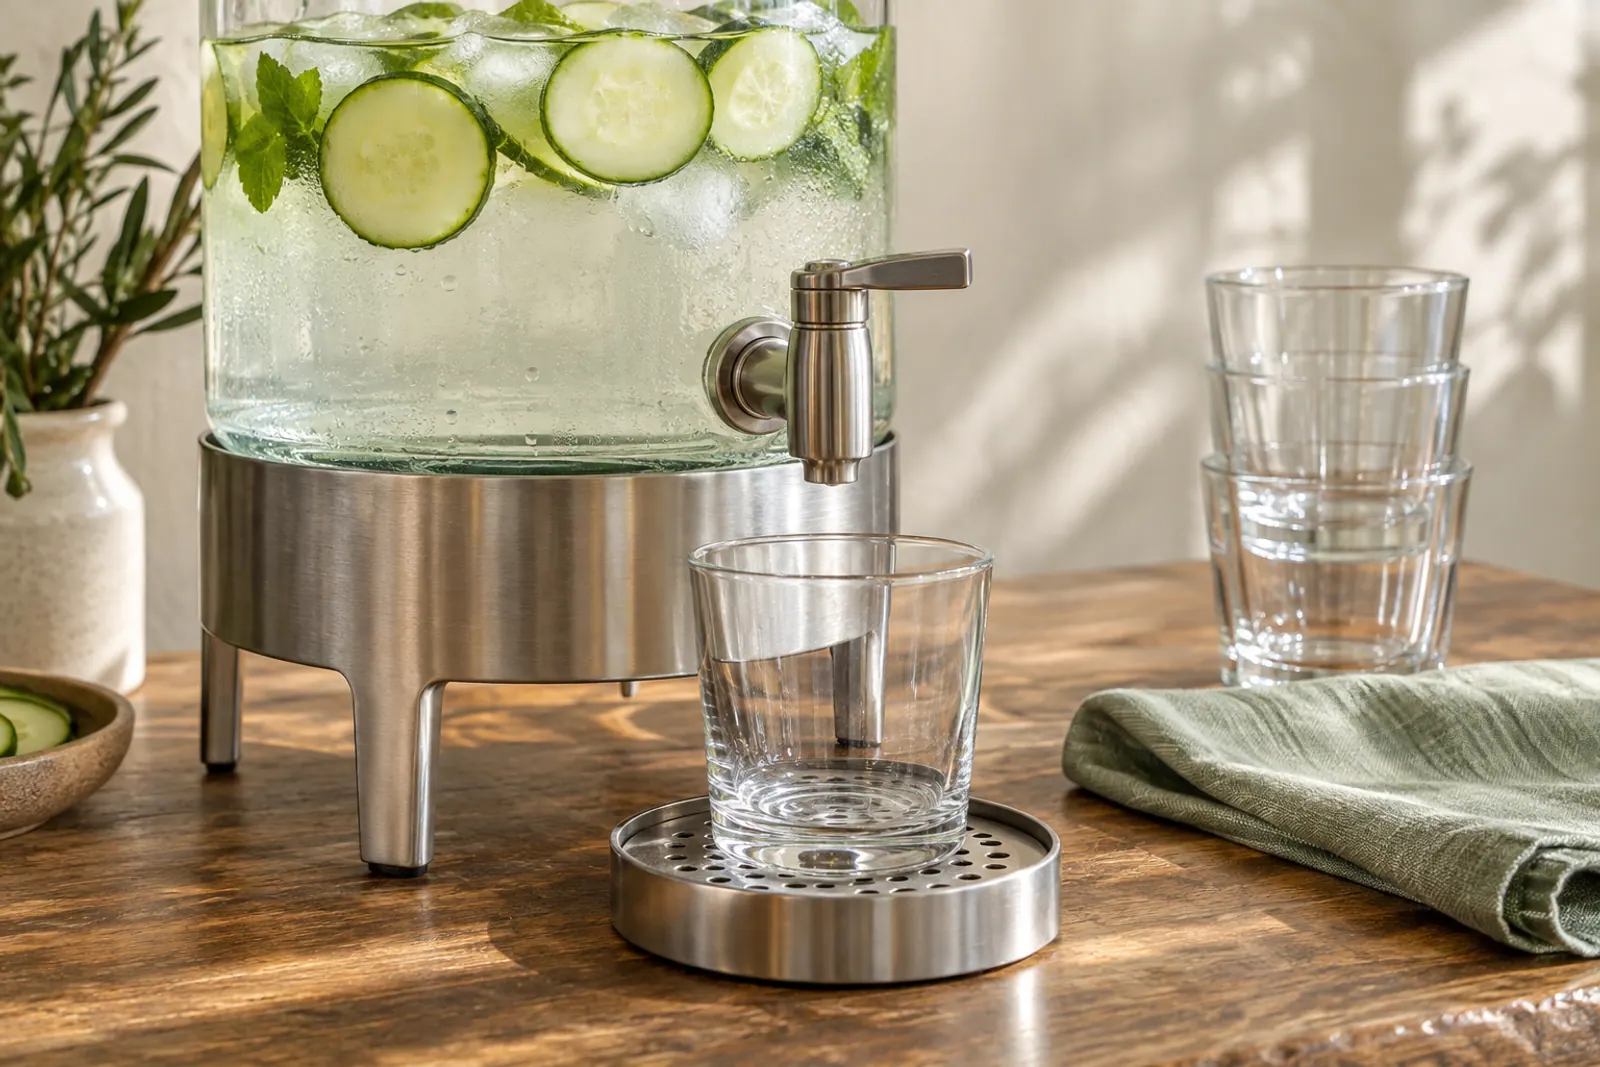
Measure a jug with its handle, not just its base. For a dispenser, include the stand’s outer legs, spigot projection, lid opening and the filled container’s weight. Use a stand intended to support that dispenser, and follow the manufacturer’s fill and installation instructions. Do not improvise height with books, loose crates or an unstable decorative pedestal.
Put the actual empty cup in the pouring position. Confirm it fits beneath the outlet with space for fingers and removal; for a jug, try lifting, pouring and setting it down. Measure a catch tray’s useful interior as well as its outer rim. Keep equipment fully supported on the surface rather than allowing a heavy dispenser or jug to overhang.
The diagrams use inches, with metric equivalents in the inventory. Coordinates start at each surface’s back-left corner: x runs to the right and y runs toward the guest-facing front edge. All footprint dimensions include the outside of the named tray or stand.
Layout 1: a two-jug console with a left-to-right route
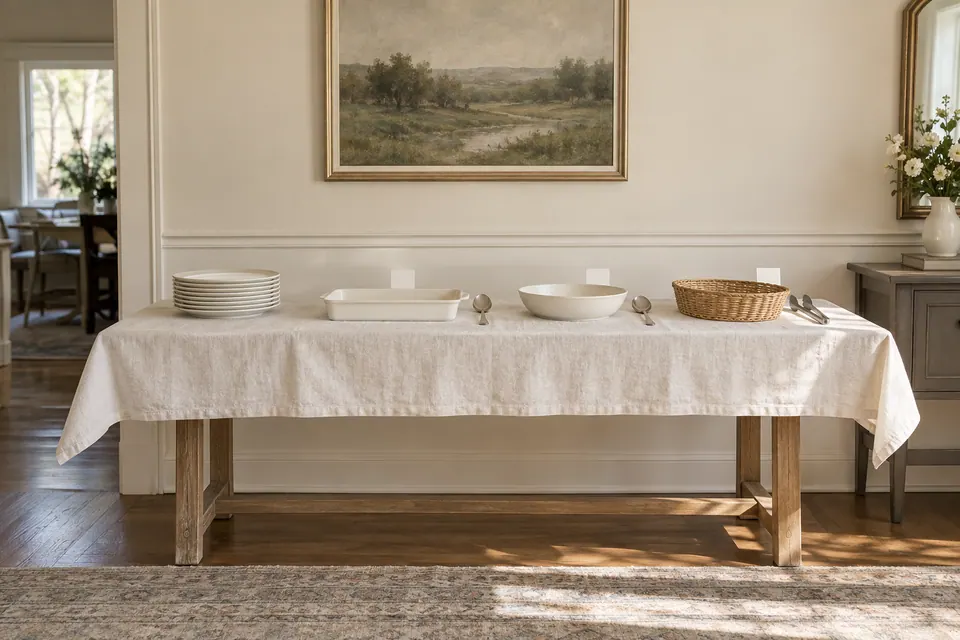
Use a 72 × 20-inch console, about 183 × 51 cm. Guests approach its front, collect a cup on the left, choose a jug and move toward the right to leave. This is a suggested route to try in your room, not a guarantee that several people can serve at once.
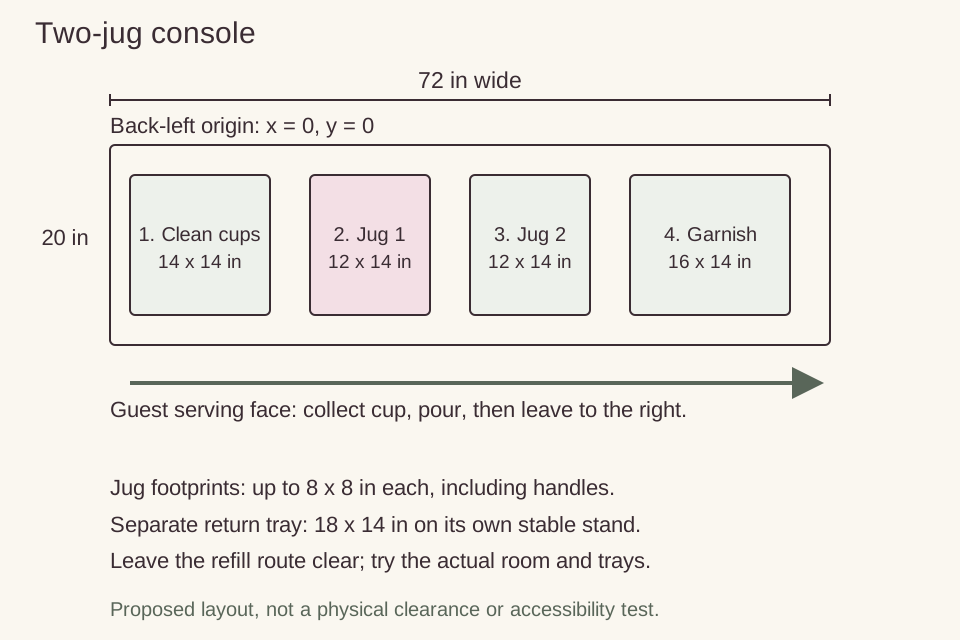
| Zone | Outside footprint | Back-left coordinate |
|---|---|---|
| Clean cup tray | 14 × 14 in / about 36 × 36 cm | x = 2 in; y = 3 in |
| First jug catch tray | 12 × 14 in / about 30 × 36 cm | x = 20 in; y = 3 in |
| Second jug catch tray | 12 × 14 in / about 30 × 36 cm | x = 36 in; y = 3 in |
| Small garnish dish and dry napkins in one zone | 16 × 14 in / about 41 × 36 cm | x = 52 in; y = 3 in |
| Used-glass tray on another stand | 18 × 14 in / about 46 × 36 cm | Separate from this console |
The console has a 3-inch front and back margin around these zones. There is a 4-inch horizontal gap between neighboring trays. Each jug’s proposed outside footprint is no more than 8 × 8 inches, including its handle. Test that jug in its 12 × 14-inch tray with the actual receiving glass; the remaining tray area is a pouring allowance, not a verified fit for every rim or handle.
Make the two jugs distinguishable with plain, readable labels: for example, “Plain water” and “Cucumber water.” Put only the cups that fit securely on the first tray out at once. Keep the reserve clean and covered nearby. The front route should remain clear of chair backs, doors and the return stand.
Layout 2: a dispenser table with a separate refill side
Use a 60 × 30-inch table, about 152 × 76 cm. Its front is the guest serving face. Keep the table’s right side available for a host to replace closed refill bottles without stepping into the cup-pickup zone. The room needs enough actual approach space for that arrangement; the tabletop dimensions do not measure the surrounding aisle.
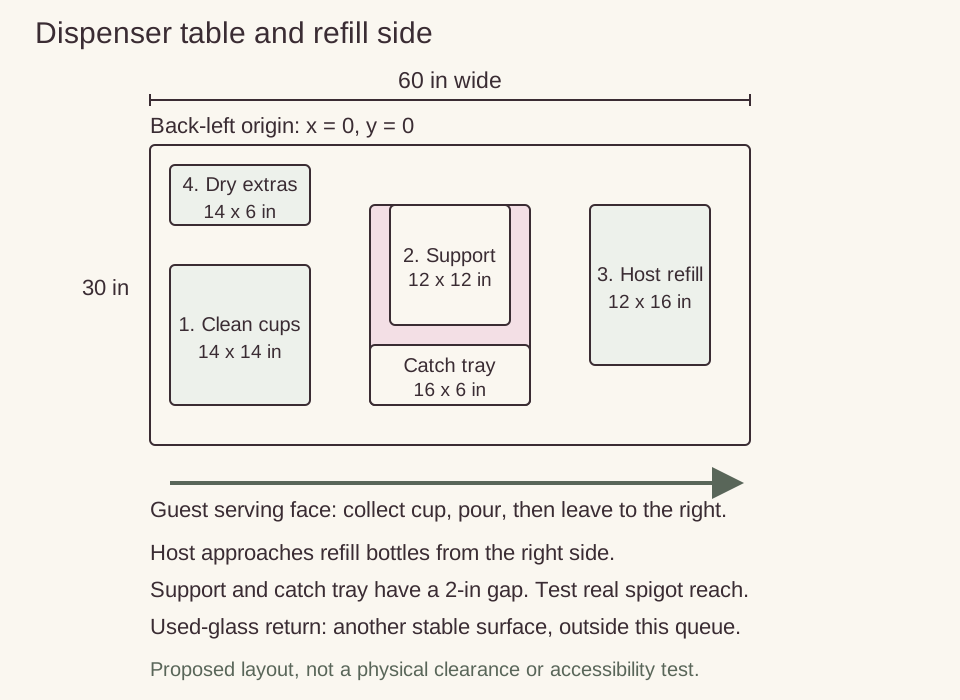
| Zone | Outside footprint | Back-left coordinate |
|---|---|---|
| Clean cup tray | 14 × 14 in / about 36 × 36 cm | x = 2 in; y = 12 in |
| Dispenser, support and catch-tray working zone | 16 × 20 in / about 41 × 51 cm | x = 22 in; y = 6 in |
| Closed refill bottles and clean towel tray | 12 × 16 in / about 30 × 41 cm | x = 44 in; y = 6 in |
| Dry labels and spare napkins | 14 × 6 in / about 36 × 15 cm | x = 2 in; y = 2 in |
Inside the dispenser zone, the proposed support footprint is 12 × 12 inches, at x = 24 and y = 6. The 16 × 6-inch catch tray is at x = 22 and y = 20. It leaves a 2-inch gap after the support and ends 4 inches before the table’s front edge. The spigot and the cup must reach the catch tray while the support remains fully on the table. A dispenser whose outlet cannot satisfy those conditions needs a different arrangement.
The refill zone starts 6 inches to the right of the dispenser zone. Its bottles must fit upright and must not exceed the surface’s load capacity. Test how the lid is opened and how the actual container is refilled before guests arrive. If refilling a full dispenser would require lifting a heavy vessel over heads or reaching through a queue, use smaller replaceable containers or have the host take it out of service for refill.
Use a mocktail option as one configuration
A cold alcohol-free drink can use either measured station after you confirm its actual vessel footprint and pouring clearance. Keep plain water available and give every prepared drink a readable ingredient label. Check that garnish or ice is permitted by the dispenser instructions and cannot block its outlet.
Use the mocktail bar guide for two drink offers, measured pours, ingredient shopping and preparation checks. Use the party ice calculator for weighed drink ice and separate cooling bags. This layout keeps the cup, pour, refill and return routes clear while those guides plan the contents.
Give used glasses a separate return point
Use a separate stand that can securely hold the proposed 18 × 14-inch return tray, with enough space to set a cup down. Keep it outside the clean-cup and refill paths. The diagrams mark a return point, but its distance and route must work in your room; do not rely on a decorative sign to prevent guests placing used glasses among new ones.
Assign someone to clear it before it becomes crowded. Keep clean towels and refill bottles off that return surface. If reusable cups need washing during the event, plan that separate kitchen task instead of carrying used cups through a pouring queue.
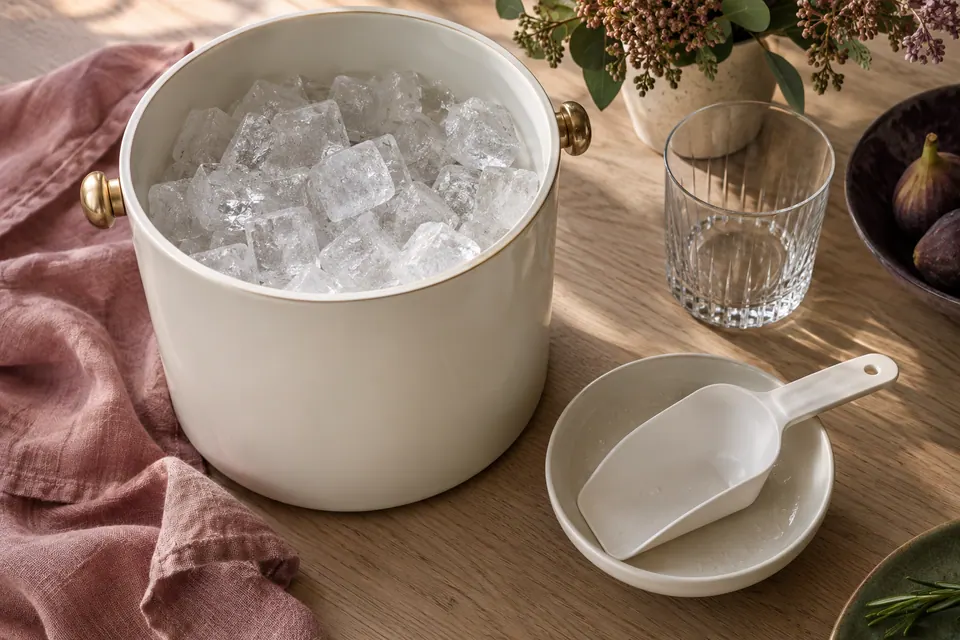
FDA advises using clean, non-breakable tools for ice and avoiding hands or drinking glasses as scoops. Put a dedicated ice scoop and its clean rest beside the drinking-ice container. Cooling ice belongs elsewhere. FDA ice-handling guidance.
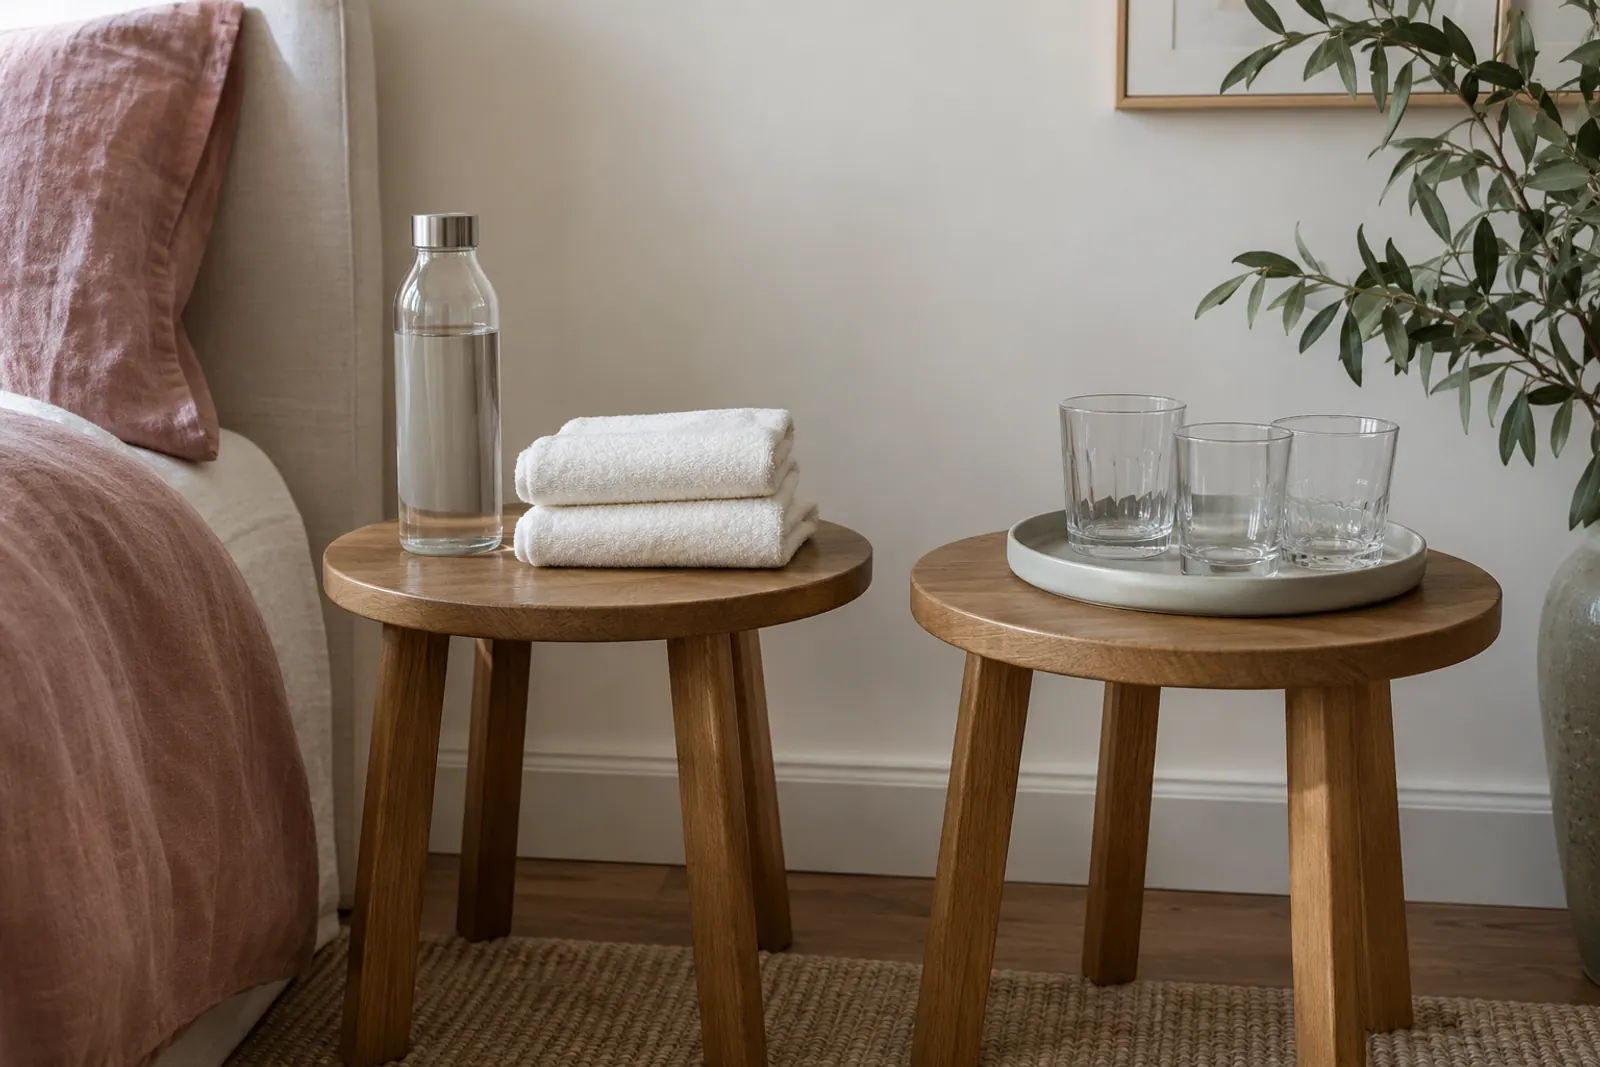
Write the refill handoff before opening the station
Give one host the check-in task and name a backup. The record should say where the reserve is stored, which container it belongs to, what to do for spills and who can temporarily stop service. “Check the drinks” is less useful than “replace the first jug with its covered reserve; wipe its tray; keep the used-glass return separate.”
Follow product instructions for storage and holding of the drinks and garnishes you choose. Record time or temperature checks where that product requires them. Do not assume a decorative cooling arrangement proves the contents are held properly.
Download the Letter station plans or A4 plans. Each includes both layouts, the coordinate tables and a blank refill/return handoff. The CSV equipment checklist holds your real footprints, capacity checks and host names. Try the complete empty setup, walk the guest and host routes, then fill the containers.
Measure the actual container, stand, glass and trays before choosing a station. Give clean cups, pouring, refills and used-glass returns separate space, then try the complete route without drinks.
Checklist from this story
0 / 7 ready