DIY Bridal Shower Decorations: 3 Projects and a Welcome Sign
Make place cards, small signs and liftable flowers for twelve guests, plus a free personalized bridal shower welcome sign in A4 or US Letter.
Get the paper and welcome sign ↓- The guest list
- 12 people, including the hosts and guest of honor
- A little preparation
- Print and fold the paper first; arrange the flowers after checking the actual trays
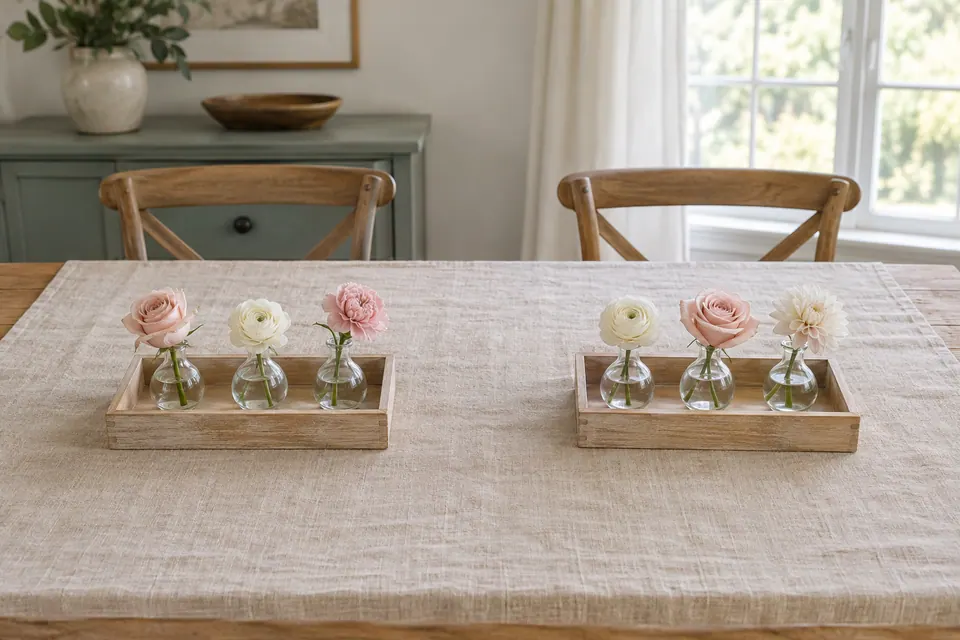
These DIY bridal shower decorations give twelve guests a place to sit, two small stations a clear purpose and the tables a little color. Make folded name cards, put two printed signs in reusable holders, and group six single-flower vases on two trays that can move when food needs the space.
The complete kit uses sixteen paper cards, with twelve named and four spare; two flat signs; two trays; and six vases. Choose ivory paper, one dark ink color and flowers that work with your existing linens. You can make the paper pieces independently if flowers are outside your budget.
An optional bridal shower welcome sign gives arriving guests one clear direction. The separate free editor below personalizes a whole A4 or US Letter page; it is an extra arrival piece, outside the three-project kit and its supply counts.
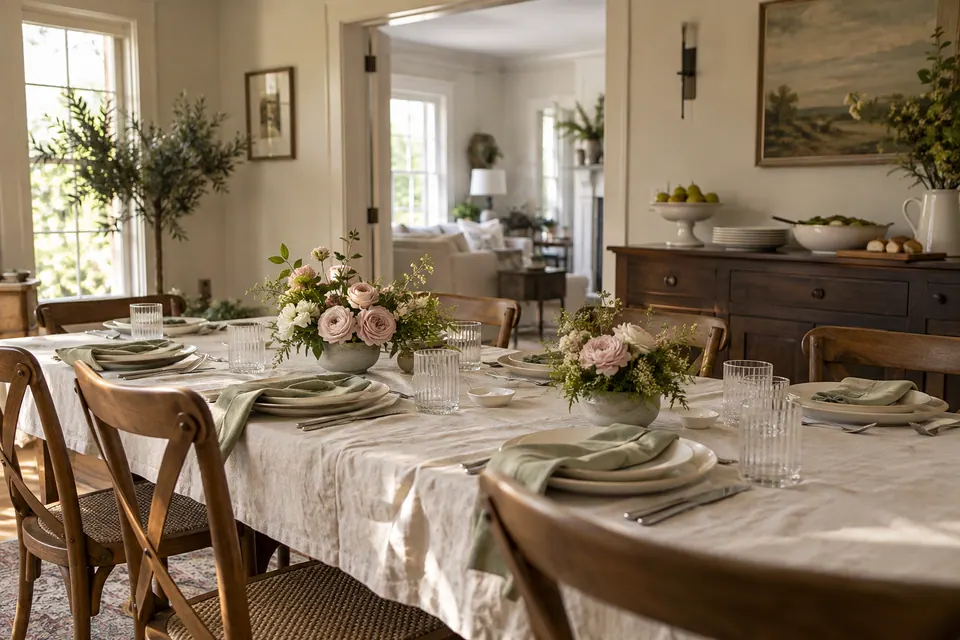
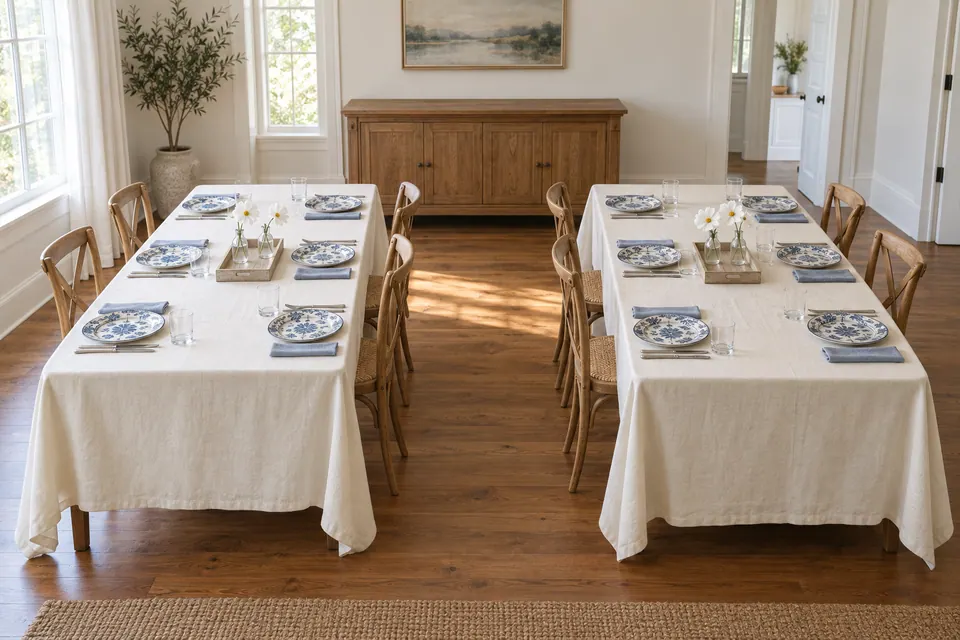
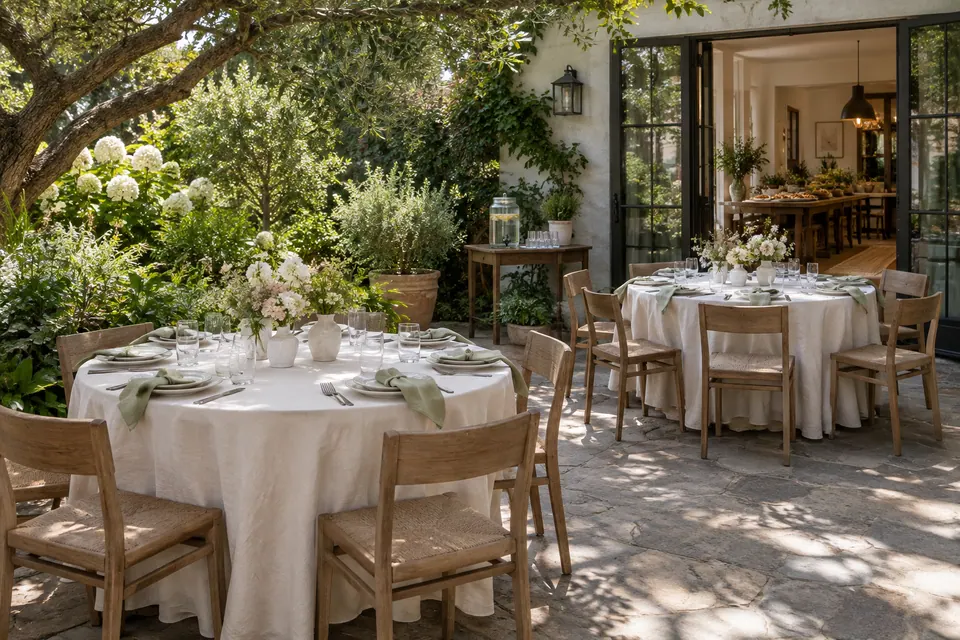
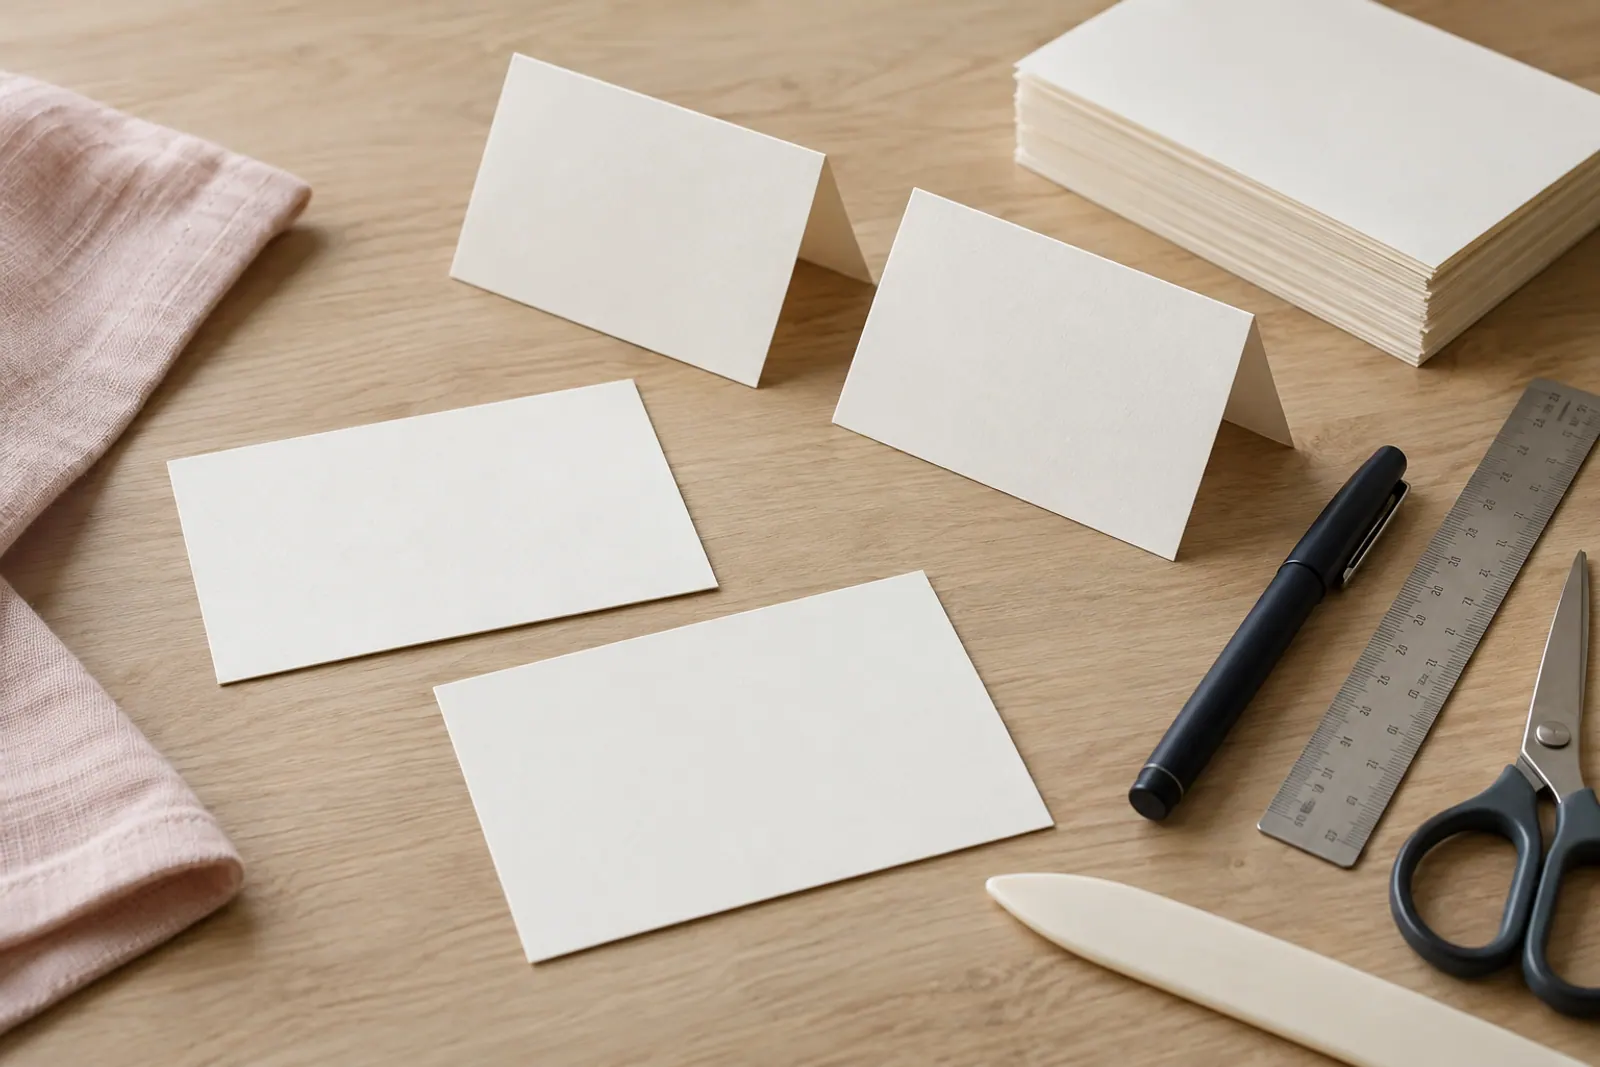
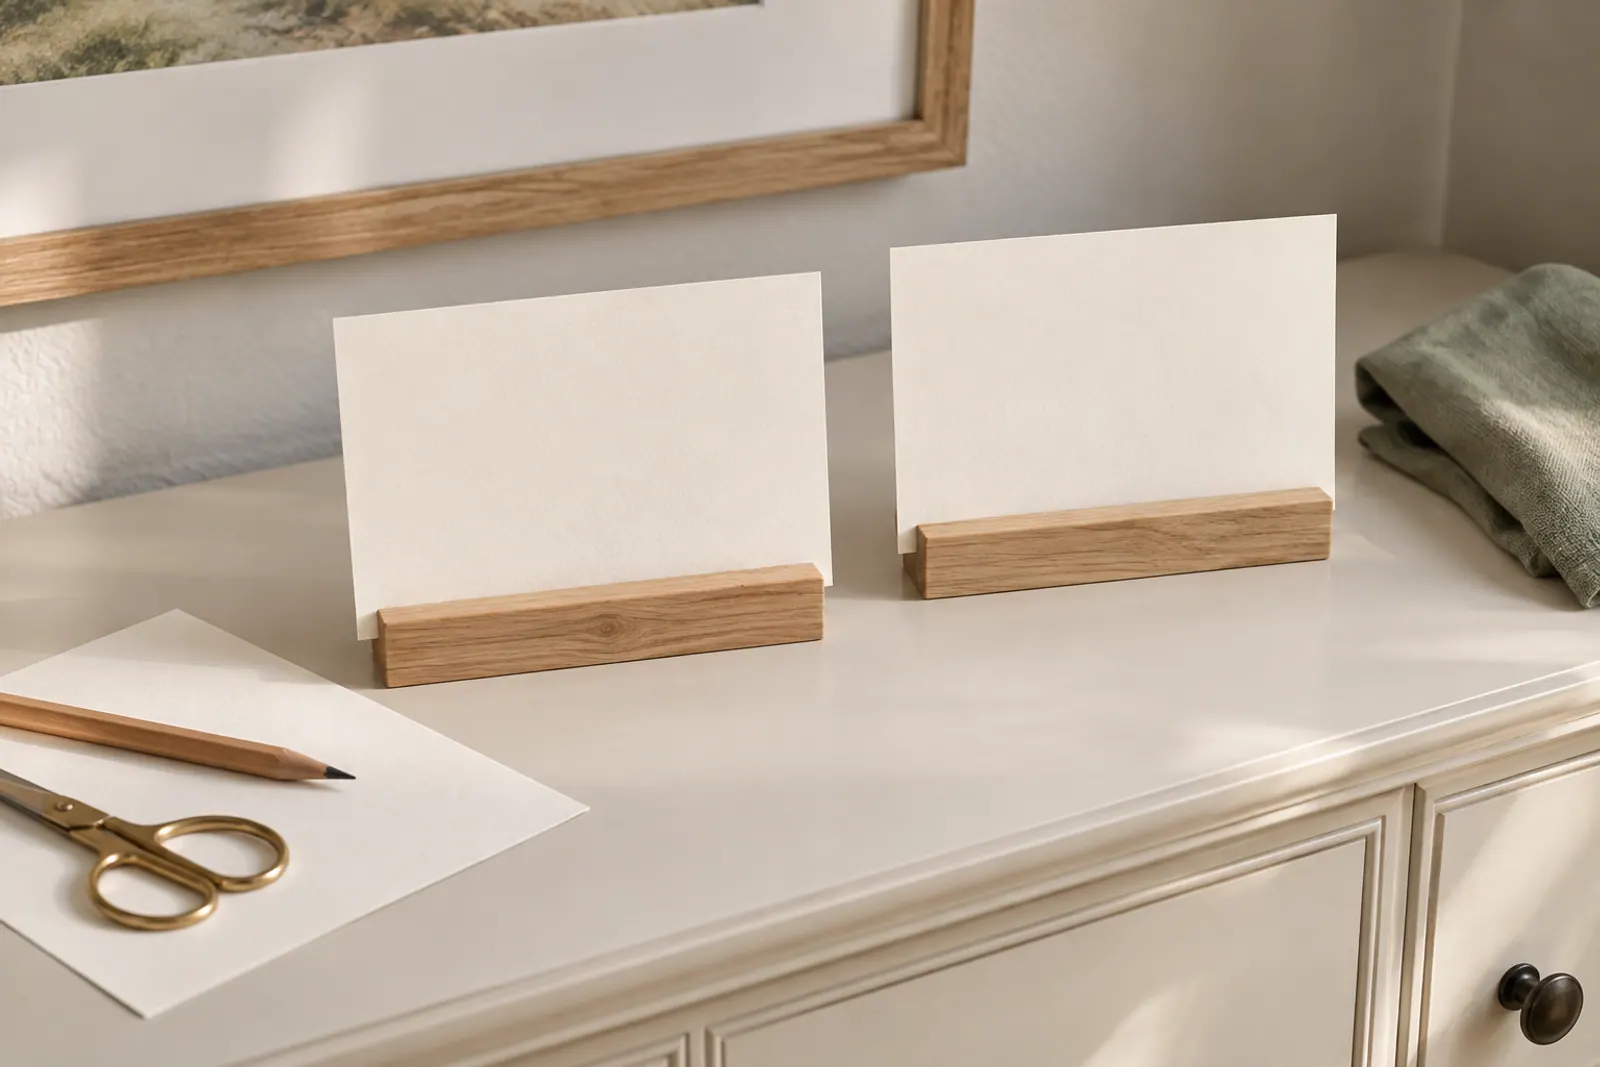
This is an original project plan with printable patterns. The photographs are AI-created styling concepts, while the separate paper preview shows the actual downloadable design. The counts and dimensions below are specifications to check against your own materials, not a record of a shower we hosted.
Keep take-home projects separate from pieces you borrow for the room. If you want a small favor, the bridal shower favor guide supplies three measured paper assemblies and printable patterns, including a wallet for an intact sealed tea sachet.
Make a small kit for twelve guests
Count the hosts and guest of honor among the twelve. Confirm names before writing the cards, and ask whether the person being celebrated would enjoy keeping guests’ written notes. A note station is optional. Emily Post’s bridal shower guidance treats the gathering as an intimate occasion and describes consulting the honoree about the guest list; settle that list before making personalized pieces.
| Gather | Quantity | What the quantity covers |
|---|---|---|
| Printer-compatible ivory or white cardstock | 6 sheets in one paper size | 5 final sheets plus 1 test sheet; page one uses 4 final sheets and page two uses 1 |
| Paper tools | 1 ruler, 1 pencil, 1 dark writing pen, scissors or a paper trimmer, and a bone folder if available | Measure, mark, cut, write and crease; no glue is needed for these projects |
| Stable sign holders | 2 | One for each 5 × 3.5-inch flat sign; check the holder accepts your cardstock |
| Low trays | 2, each about 10 × 6 in (25.4 × 15.2 cm) | Three small vases on each; confirm the actual flat area inside the rim |
| Stable, watertight bud vases | 6 | One flower in each; each base no more than 2.5 in (6.4 cm) across for the example layout |
| Single-flower stems | 8 | 6 displayed and 2 replacements, not eight crowded into the vases |
| Flower preparation tools | A suitable stem-cutting tool, water and a cloth for wiping vase bases | Prepare flowers away from the dry paper workspace |
| Optional note station supplies | 1 plain notebook and 2 pens | Give the “Please leave a note” sign somewhere useful to stand |
Use the paper weight and feed method your printer supports. An especially thick sheet is no bargain if it jams. Try the ink on an offcut and let it dry before rubbing it with another piece of paper. Record anything you need to buy in the bridal shower budget worksheet, alongside pieces you can borrow.
For a complete color and room plan, use the Something Blue bridal shower or garden party bridal shower. This kit supplies the handmade details that sit within that plan.
Download the paper details
Choose the file that matches your loaded paper:
Each file has two pages. Page one contains four flat place-card patterns. Page two contains two fixed-text signs: “Please leave a note” and “Something sweet.” Names are handwritten after printing; these PDFs are print-and-cut patterns with fixed artwork.
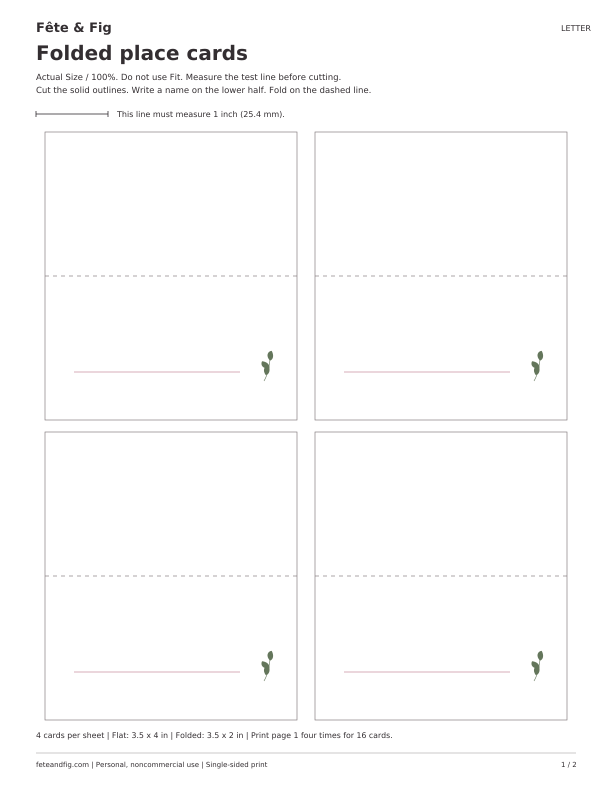
Print single-sided at 100% or Actual Size, with scaling such as “Fit” turned off. First print page one once as a test. Its test line should measure 1 inch (2.54 cm), and a flat card should measure 3.5 × 4 inches, or 8.89 × 10.16 cm. If the dimensions differ, correct the paper and scaling settings before using the remaining sheets.
| PDF page | Copies for the final set | Cut pieces | Finished use |
|---|---|---|---|
| 1: four place-card patterns | 4 | 16 flat rectangles, each 3.5 × 4 in | Fold to a 3.5 × 2-inch face; write 12 names and leave 4 spare |
| 2: two signs | 1 | 2 flat rectangles, each 5 × 3.5 in (12.7 × 8.89 cm) | Place one in each of 2 separate holders; signs stay flat |
The five final sheets are the print order, not five copies of the whole two-page file. If your test sheet is the right size and looks good, count it as the first of the four page-one copies. You then need only three more copies of page one and one copy of page two.
For a separate personalized arrival sign, make the free welcome sign. Its full page does not replace either small sign or fit their 5 × 3.5-inch holders.
Fold twelve place cards and keep four spare
A single dark handwritten name is enough. The folded card stands on its own, so it does not need ribbon, a clip or an individual holder.
- Cut one rectangle first. Follow its outside cutting boundary and measure it before cutting the other fifteen. Keep the center fold mark intact.
- Make the center crease. With the 4-inch length running from top to bottom, fold across the card at 2 inches (5.08 cm). This produces two 3.5 × 2-inch panels. Align the opposite edges, then press the fold gently with a bone folder or your fingers. Follow any cardstock manufacturer’s scoring advice if the surface tends to crack.
- Check which face will be visible. Stand the sample as a small tent, then open it flat again and write the guest’s name on the line in the lower front panel. Use the same orientation for the remaining cards.
- Complete twelve names. Check spelling against the final guest list and let the ink dry. Keep four cut, folded blanks with the pen for corrections or a changed name.
- Place the cards after the settings. Put each where its name is readable without covering utensils or leaning against a water glass. Try sitting down at that place and reaching for the napkin before choosing the final position.
Keep the finished cards in seating order in a shallow box. If seating changes, moving a name card is easier than rebuilding a decoration. The four spares belong in the host’s kit, rather than filling unused places on the table.
Give two small signs a useful job
Cut the two 5 × 3.5-inch rectangles from page two. Leave them flat and place each in its own holder. A folded place-card pattern and a flat sign have different jobs; do not crease the signs to make them stand.
- Try an offcut in the holder. Check the slot or grip can support the actual paper without bending it or covering the message. Borrow a different stand if it cannot.
- Set the note sign beside the notebook. Add two working pens and leave clear writing space. The notebook can invite a memory or a kind wish without requiring every guest to participate. If the honoree would rather skip a keepsake, store this sign and use only the sweets sign and one holder.
- Set “Something sweet” at the dessert station. Position it behind or beside the serving pieces where guests can read it before picking up food. Keep it outside the path of tongs and away from spills. It names the station; individual food ingredients still need their own information.
- Look from the guest’s approach. Move each small sign closer to its task if it is hard to read. Enlarging the print would change the specified paper size and require another holder check.
Both paper signs belong on dry surfaces. Do not tuck one into a vase or balance it against a dessert platter. The dessert table ideas guide can help you choose the serving pieces before finding a place for the sweets sign.
Make a personal welcome sign
A welcome sign earns its space when it helps someone arriving at the shower. Start with “Welcome to a bridal shower for [name]”, then add the date if useful and one real instruction such as “Please join us in the sitting room.” Check the name and preferred wording with the person being celebrated. Leave a line empty when it adds no information; the sign is not a second invitation or a full itinerary.
Open the free bridal shower welcome sign editor for the original Gathering Lines design. You can also download its self-contained HTML file and edit offline in a current desktop browser. It uses local system fonts and needs no account, remote library or network request to edit.
For handwriting, choose the matching one-page blank file:
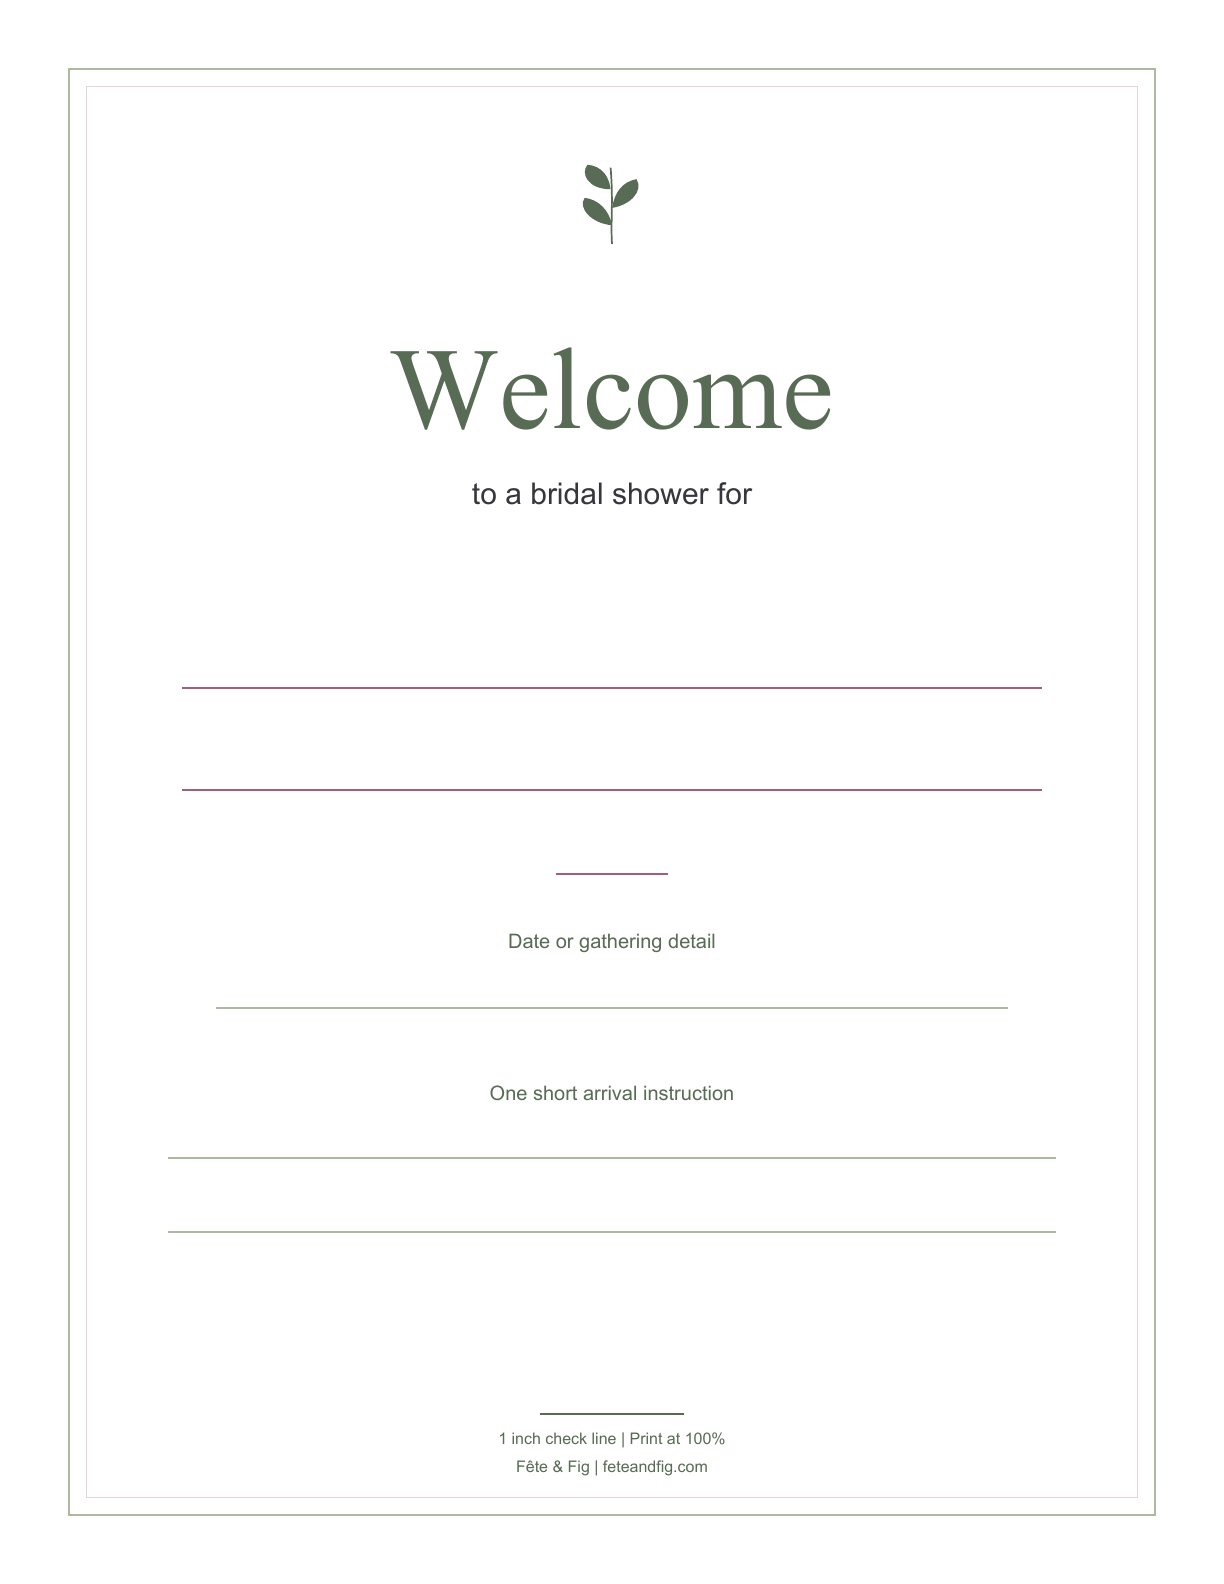
The welcome sign is one additional project. Allow one test sheet, one final sheet and one suitable full-page holder or frame if you want it; these are separate from the six sheets and two small holders in the kit above. A successful test can become the final sign when its wording and print are right.
- Choose the actual paper. A4 is 210 × 297 mm; US Letter is 8.5 × 11 inches. Choose the paper already loaded, rather than enlarging a small sign pattern.
- Keep the message short. The editor allows up to 60 characters for the honoree, 70 for the optional date or gathering detail and 120 for the optional arrival note. Names stay at least 28 pt, date text at least 14 pt and arrival text at least 16 pt. A character count does not guarantee fit; wide lettering may need shorter wording. The full entries remain available when printing is blocked.
- Save before closing. Choose Save project JSON and check your downloads. Open that private project later with the file control. A valid import or Clear entries asks before replacing populated work; a rejected project leaves current entries in place. There is no autosave, shared editing or device sync, and the editor sends no names or text to us.
- Print one check first. Use Print sign or save PDF. In the browser dialog select matching paper, portrait, 100% scale and no margins, with headers and footers off. Measure the one-inch line. Printer margins and system fonts vary; a print request does not confirm that a PDF was saved or paper was printed.
- Check the real display opening. The border sits 0.48 inch inside the page, with a second line at 0.6 inch. A frame’s visible opening or mat can still cover lettering. Try the actual page and keep all words visible. Do not trim this design to an 8 × 10-inch frame and assume it will work; use a suitable holder or another paper format.
- Walk the approach. Place it on a stable, dry indoor surface before guests need to decide where to go. Read the name and direction from the actual approach in the available light, then move it closer if needed. Keep it outside door swings, walking paths and food or flower-water workspaces. A full-page sign is not proof of long-distance readability or outdoor durability.
Keep downloaded projects and PDFs private when they contain personal names. Clearing the editor removes tab entries, not copies already saved or printed. The welcome file remains a separate arrival detail; the two small signs still belong at the note and dessert stations.
Build two flower groups you can lift away
Use two low 10 × 6-inch trays, each carrying three bud vases. The project is arranging ordinary reusable pieces; it does not require foam, glued glass or a constructed wooden base. Measure the actual trays, including projecting edges or handles, and make sure their inner rims leave enough level support for the vases.
For the example below, measure from the left and back outside edges of a tray. Place the vase centers in one row at 2, 5 and 8 inches from the left, all 3 inches from the back. Repeat on the second tray.
| Vase | Center from left / back | Base size used for the fit check |
|---|---|---|
| Left | 2 / 3 in (5.08 / 7.62 cm) | No more than 2.5 in (6.35 cm) across |
| Middle | 5 / 3 in (12.7 / 7.62 cm) | No more than 2.5 in (6.35 cm) across |
| Right | 8 / 3 in (20.32 / 7.62 cm) | No more than 2.5 in (6.35 cm) across |
At that maximum base size, the arithmetic leaves 0.5 inch between bases, 0.75 inch at each short end, and 1.75 inches in front and behind the row. Those measurements describe base footprints, not hand clearance or proof that your tray rim is suitable. Vase shoulders and flower heads may be wider than the bases.
- Arrange the empty vases. Set all six on the two trays and check that every base sits flat. Try lifting each empty tray by its intended grip. If a rim blocks a base or your fingers hit glass, use a roomier tray and recheck the layout.
- Reserve the destination first. Clear a stable landing place for both complete trays, including their flowers and the space your hands need. Two adjacent 10 × 6-inch footprints total 20 × 6 inches (50.8 × 15.2 cm), before any gap or handling allowance. Try the real trays there instead of relying on that minimum rectangle.
- Prepare one flower as a sample. Hold the stem beside its vase to judge the cut, then shorten it in small increments with a suitable clean cutting tool. Aim for the bloom just above the vase neck, with the cut end in water. The necessary stem length depends on the vase and the flower, so copy the resulting height rather than cutting every stem to an assumed length.
- Complete six single-stem vases. Keep the two replacement stems separately in water under their care instructions. Wipe the vase bases before returning them to the trays. Keep flower heads and leaves within the space you have reserved for each group.
- Check the seated view and the move. Sit opposite another person and shorten or change any stem that blocks conversation. Check the filled group’s stability before guests arrive. Move each tray level and slowly; if the vases slide or feel insecure, carry them separately and reassemble them at the landing spot.
Leave food and shared serving pieces enough room first. You can display one group on each dining table, or keep both on a sideboard if the tables are full. Move both groups before serving dishes arrive, rather than trying to thread a platter between the vases.
Put the pieces out in the right order
| Stage | Finish this | Check before moving on |
|---|---|---|
| Before buying supplies | Confirm the twelve names, note-station preference and pieces you can borrow | The tray bases, holder slots and printer can use the materials you chose |
| Paper work session | Measure one print, cut and fold the cards, write names and cut the two signs | 12 legible names, 4 spare cards, 2 flat signs; ink is dry |
| Before decorating | Place the actual settings and empty serving pieces; clear both tray landing places | Decor will not occupy space needed for eating, food service or walking |
| Flower preparation | Arrange 6 stems in 6 vases on 2 trays | 2 replacement stems remain separate; sightlines and stability work |
| Before guests arrive | Put out the named cards and the signs being used | Paper stays dry; notebook and pens are ready if wanted |
| Before meal service | Move the flower groups if food needs their space | The landing surface supports both complete groups comfortably |
Assign one helper the paper pieces and another the flower groups if help is available. Keep the broader guest, food and hosting jobs in the bridal shower planning checklist.
Pack the useful pieces for another gathering
Store the two dry signs flat with their holders, ready for another tea or dessert table. Keep unused name cards with the writing pen. Guests can take their own named cards if they wish; save the notebook only if the honoree wants it.
Empty, clean and dry the vases, then return borrowed pieces together. The trays can go back to their ordinary household jobs. At the next gathering, changing the flower color or the handwritten names is enough to adapt the kit without remaking every piece.
For a guest activity with flowers, the bridal shower flower bar has a separate stem count, workspaces and bouquet-turn plan. Keep host decorations separate from the stems allocated to each guest.
Make twelve named place cards, give two small signs a real purpose and arrange six single-flower vases on two removable trays. Check one paper sample and the empty tray layout before making the full set.
Checklist from this story
0 / 11 ready
Sources and file checks
Original project counts and dimensions are stated below. The blank welcome PDFs have single-page A4/Letter geometry and a one-inch check line; both final pages were rendered and inspected. The offline editor validates projects and checks actual text fit before printing. No physical printer, frame fit or arrival route has been tested.
- Emily Post: Bridal Shower EtiquetteConsult the honoree about the guest list and their preferences before preparing personalized shower details.
- MDN: Window print()The welcome editor requests the browser print dialog; the user chooses paper and output settings, and the request does not establish completed printing.
- MDN: Blob text()Saved welcome projects are read as text locally and validated before the editor offers to replace current entries.