Charcuterie Board for a Party: Board Sizes and Shopping Quantities
Plan a party charcuterie board with usable surface measurements, explicit appetizer quantities, a first-display and reserve split, and a shopping worksheet.
See the measured board layout ↓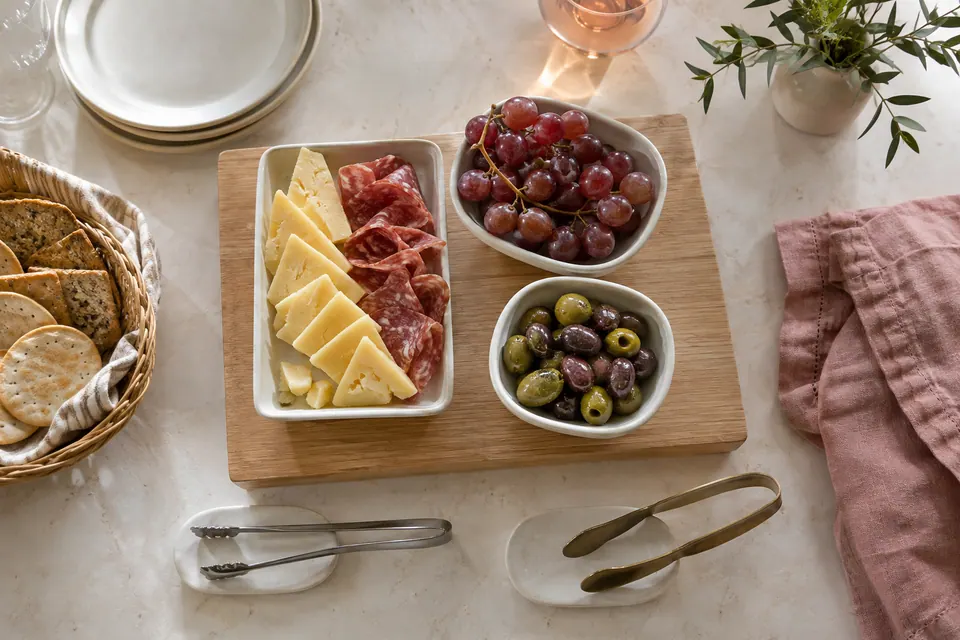
For a charcuterie board for a party, choose the food amount and the display size in two separate decisions. The guest count tells you what to buy. The board’s usable surface tells you what can be shown at one time. A larger wooden board does not turn a small shopping list into enough food, and a small board can work if you have a practical replacement plan.
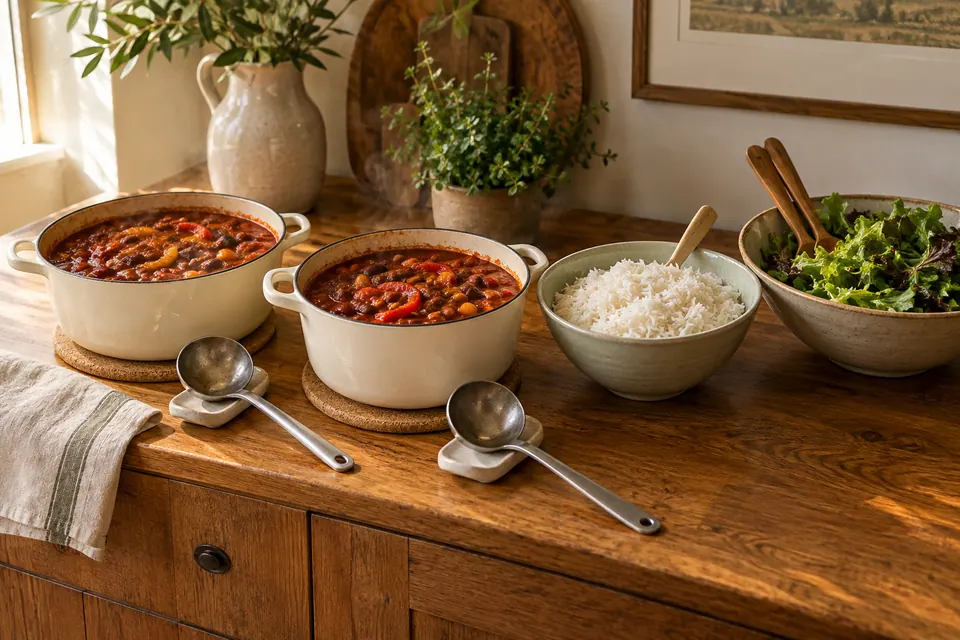
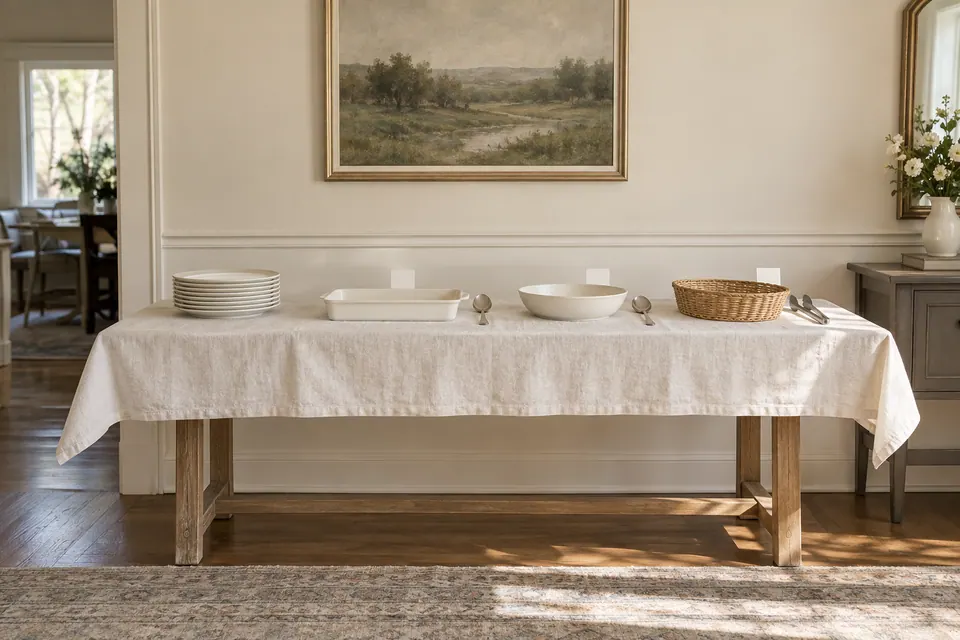
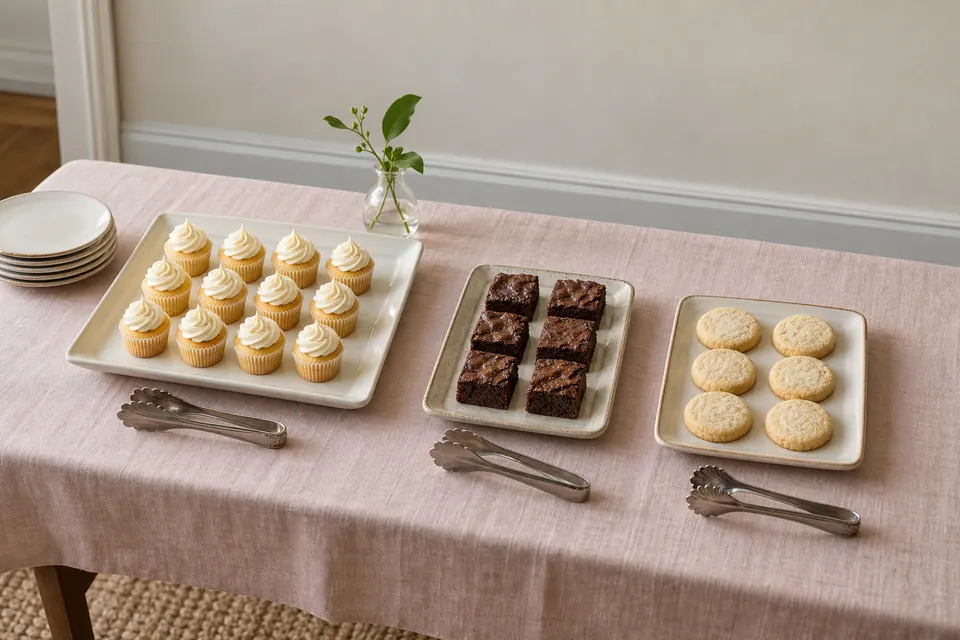
The example here is an appetizer for eight people before another meal. It uses modest quantities, removable dishes and a cold reserve. The measurements are a proposed layout to check with your actual pieces, not a physically tested capacity claim. The photographs are AI-created styling concepts; the diagram carries the dimensions.
Choose the job before the board size
A board served before dinner has a different job from one offered alongside bread, salad and another substantial meal component. Write down which role yours plays. These proposed starting amounts make that difference visible; they are not nutritional targets or a promise about every guest’s appetite.
| Ingredient | Appetizer allowance per person | Appetizer total for 8 | Meal-component allowance per person | Meal-component total for 8 |
|---|---|---|---|---|
| Cheese | 35 g | 280 g / 9.9 oz | 70 g | 560 g / 19.8 oz |
| Ready-to-eat sliced meat | 20 g | 160 g / 5.6 oz | 40 g | 320 g / 11.3 oz |
| Crackers or bread | 25 g | 200 g / 7.1 oz | 45 g | 360 g / 12.7 oz |
| Prepared edible fruit or vegetables | 60 g | 480 g / 16.9 oz | 100 g | 800 g / 28.2 oz |
| Drained olives or pickles | 15 g | 120 g / 4.2 oz | 20 g | 160 g / 5.6 oz |
The rightmost column does not describe a complete dinner. Choose the remaining food in the dinner party menu guide. For this page’s board, you can change the per-person allowance, multiply by your own count and record the reason on the worksheet. If some guests will skip meat, replace the planned contribution with a food they can enjoy; do not simply leave their portion of the display unavailable.
Measure the usable surface, not the handle
Measure the flat food-safe interior from side to side and front to back. Exclude handles, a raised lip that cannot support dishes, deep juice grooves and any space that must remain clear so a bowl does not tilt. For a round board, measure the actual dishes inside its boundary rather than assuming every part of its diameter is equally usable.
In the rectangular example, an outer 24 × 14-inch board with a 1-inch unusable border on every side has a 22 × 12-inch working rectangle, about 56 × 30 cm. Its 264 square inches of usable surface are a fit measurement. They do not translate into a certain number of ounces of cheese.
Place the empty dishes first. Include their rims, handles and tool rests in the measurements. A bowl’s footprint does not tell you its usable food capacity, so also try the intended first-display quantity in the bowl before event day. Use a clean board and food-contact-safe dishes; a decorative object with an unknown finish is not a substitute.
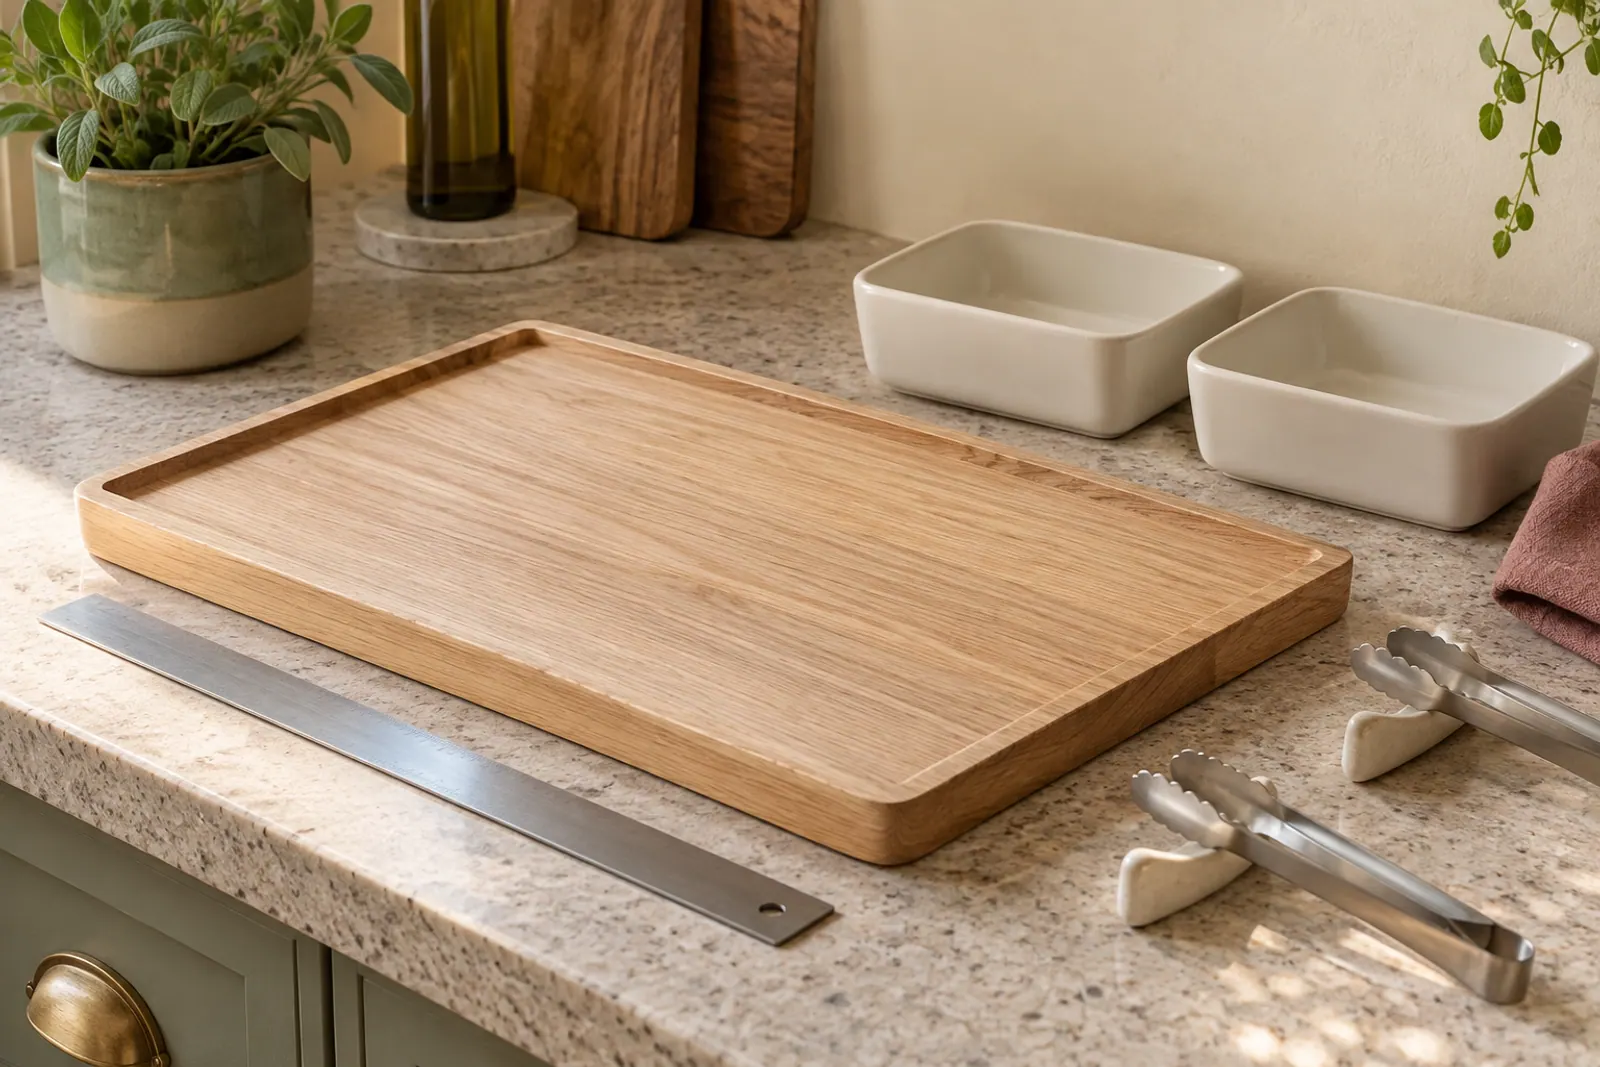
Try a 24 by 14-inch board with removable dishes
The working rectangle’s coordinate origin is its back-left corner. Measure x to the right and y toward the front. All positions below refer to the usable 22 × 12-inch area, not the outer border.
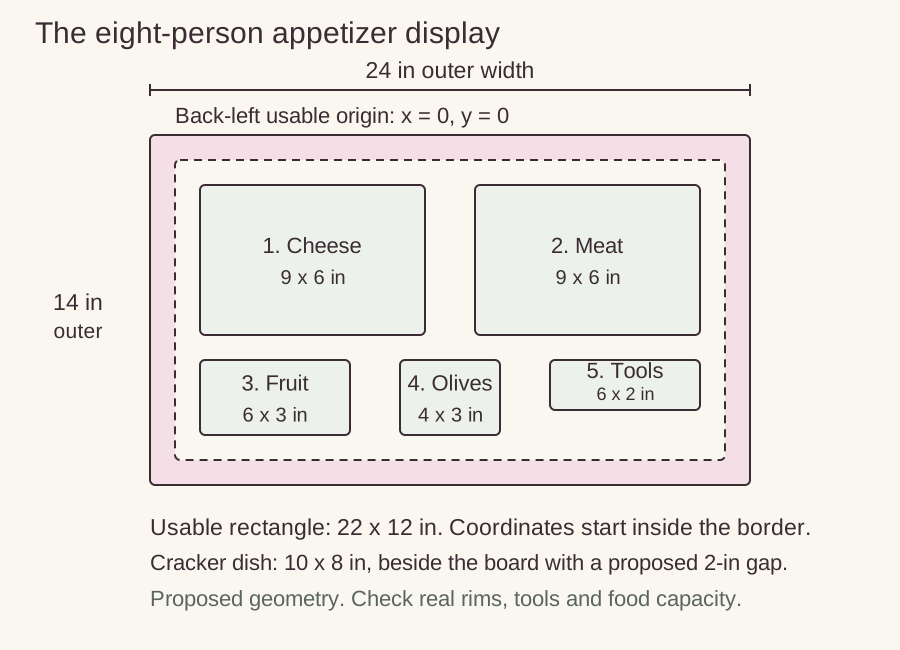
| Piece | Outside footprint | Back-left position within usable area |
|---|---|---|
| Cheese platter | 9 × 6 in / about 23 × 15 cm | x = 1 in; y = 1 in |
| Meat platter | 9 × 6 in / about 23 × 15 cm | x = 12 in; y = 1 in |
| Fruit bowl | 6 × 3 in / about 15 × 8 cm | x = 1 in; y = 8 in |
| Olive bowl | 4 × 3 in / about 10 × 8 cm | x = 9 in; y = 8 in |
| Two small tools on separate rests | Together within 6 × 2 in / about 15 × 5 cm | x = 15 in; y = 8 in |
Both back platters have a 1-inch outer margin and a 2-inch gap between them. The lower row starts 1 inch in front of those platters. Its bowls also leave 1 inch to the front boundary. The tool zone is an allowance to test with your actual tools, not permission to let a handle hang beyond the board.
Put crackers in a separate 10 × 8-inch basket or dish beside the board. A 2-inch gap between a 24-inch board and that 10-inch basket creates a 36-inch combined width, before any additional serving space. Confirm that the surrounding counter is deep enough and that the board can sit securely without overhang. Plates and napkins need their own space.
Split the first display from the reserve
For the appetizer example, start with half the planned food and keep half ready to replace it. That split is a proposed service choice, not a food-safety time allowance.
| Ingredient | Total planned | First display | Planned reserve |
|---|---|---|---|
| Cheese | 280 g | 140 g | 140 g |
| Sliced meat | 160 g | 80 g | 80 g |
| Crackers | 200 g | 100 g in separate dish | 100 g kept dry |
| Prepared fruit | 480 g | 240 g | 240 g |
| Drained olives | 120 g | 60 g | 60 g |
Keep perishable reserves refrigerated in separate covered containers. The display does not need to show everything you bought at once. For the larger meal-component quantities, use additional fresh displays or another measured board; do not force the larger totals into the same dish footprints.
FDA advises keeping cold foods at 40°F / 4.4°C or below, using small serving dishes and replacing nearly empty dishes with fresh ones instead of adding new food on top. Discard perishables left at room temperature for more than two hours, or more than one hour when the surroundings are above 90°F / 32.2°C. Use a thermometer and record when each display leaves refrigeration. FDA safe buffet guidance.
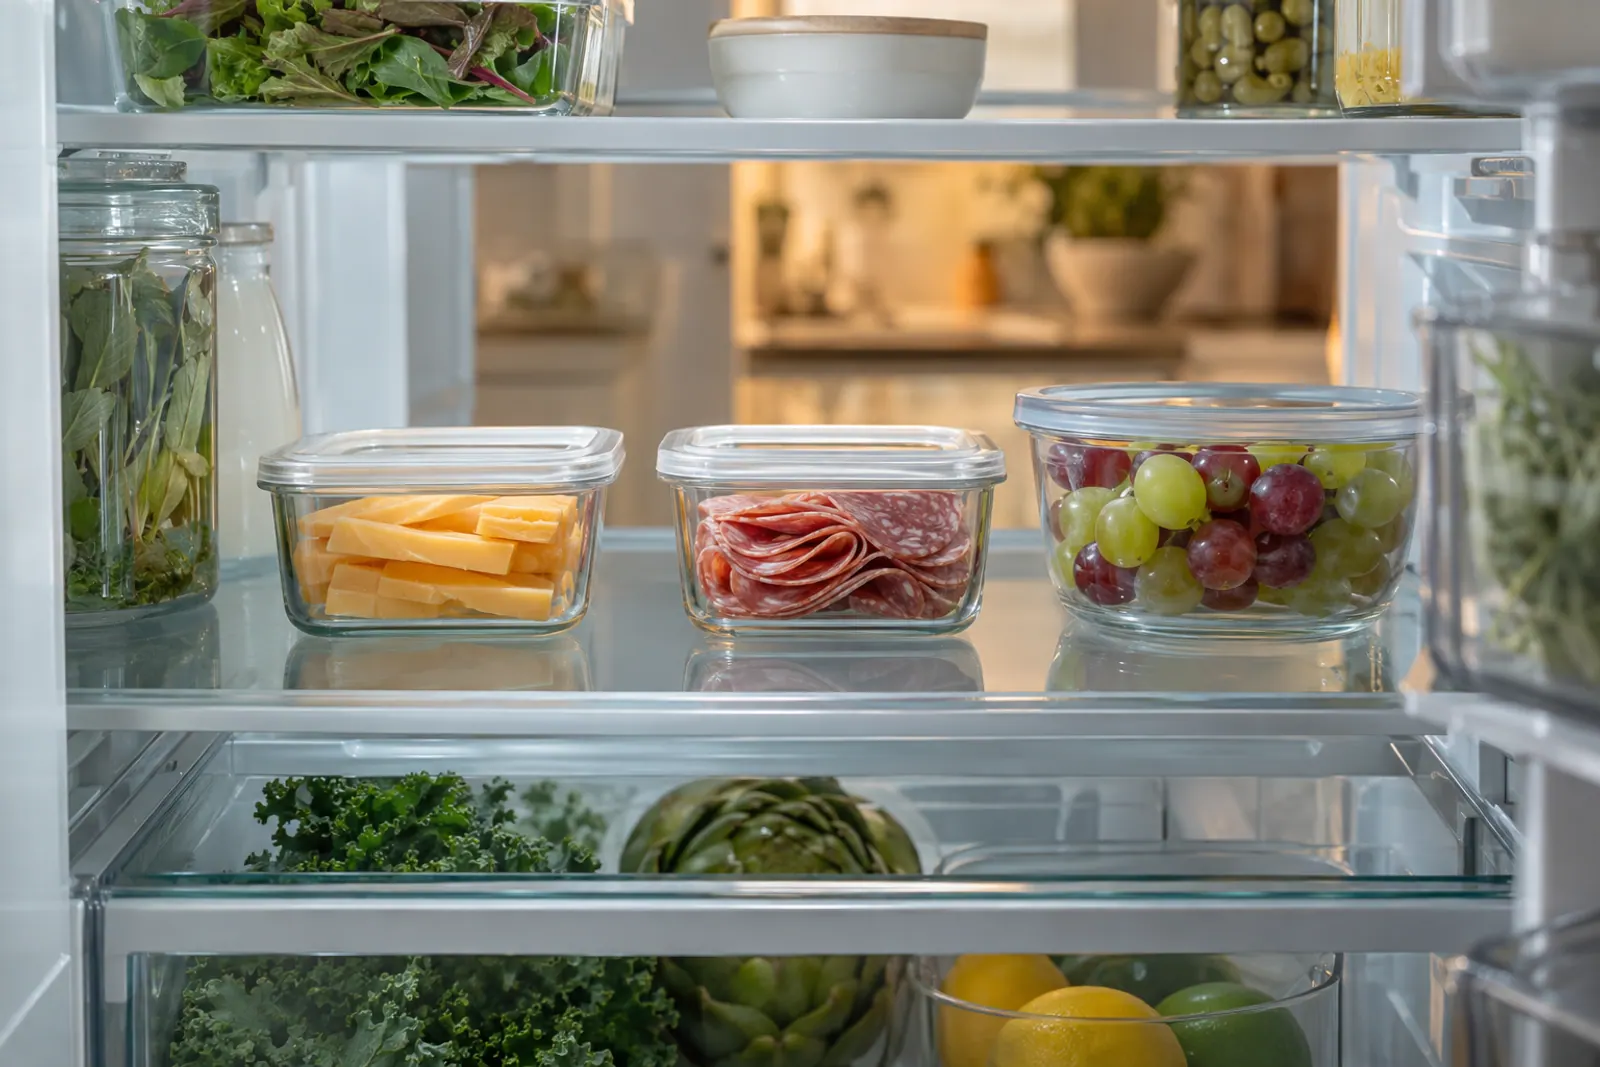
Shop by net weight and record package surplus
Suppose your chosen cheese comes in 200 g packs. Buying two gives 400 g, but the appetizer plan still uses 280 g. Its 120 g package surplus is separate from the planned 140 g reserve. Keep that distinction on the list so “reserve” does not become an instruction to put every opened package on the board.
Use packages to buy = round upward(total required ÷ usable amount per package). Read drained weight for olives where available. For whole fruit, account for the edible amount after stems or other discarded parts; weighing a representative prepared batch is more useful than assuming the whole package is edible.
The example shopping sheet shows 2 × 200 g cheese packs, 2 × 100 g meat packs, 2 × 125 g cracker packs and 1 × 150 g drained-weight olive container. Those fictional package sizes give respective surpluses of 120 g, 40 g, 50 g and 30 g. The fruit line stays open for the edible-yield check of the product you buy. Prices are left blank for your store.
Make dietary choices before food touches the board
Check labels for milk, wheat, nuts and other relevant ingredients. Keep an alternative in its own dish with its own tool when guests need separation, and follow the guest’s requirements rather than describing a mixed board as allergy-safe. If your arrangement requires more dishes, redraw the fit instead of removing the serving space.
Some guests, including pregnant people and those with weakened immune systems, need additional care around deli meats and certain ready-to-eat foods. USDA advises at-risk consumers to avoid deli meats unless heated appropriately and gives separate guidance for cheeses and other foods. Choose an alternative they are comfortable eating; this cold display is not a reheating process. USDA Listeria guidance.
Print the board and shopping worksheet
Use the Letter board worksheet or A4 version for the measured layout, ingredient table, package calculations and display-time record. The editable CSV shopping example includes the assumptions above and blank price fields. Change the portions and real package sizes before treating it as your shopping list.
Use the buffet layout guide when your board joins a larger food service, so plates, replenishment and the guest route are planned around the whole meal.
Choose the board's role in the meal, calculate ingredient amounts independently of its area, and measure the usable surface with the actual dishes. Start with a smaller display and keep a separate cold reserve for replacement.
Checklist from this story
0 / 7 ready